Since the beginning of time, I have been a sucker for a good makeover.
All of my Barbies got makeovers when I was little. Some of my favorite TV shows have involved makeovers (think What Not To Wear and Extreme Makeover: Home Edition (DON’T JUDGE – they always got me when they moved that bus!)). And I love a good makeover for myself at the Bobbi Brown counter every once in awhile.
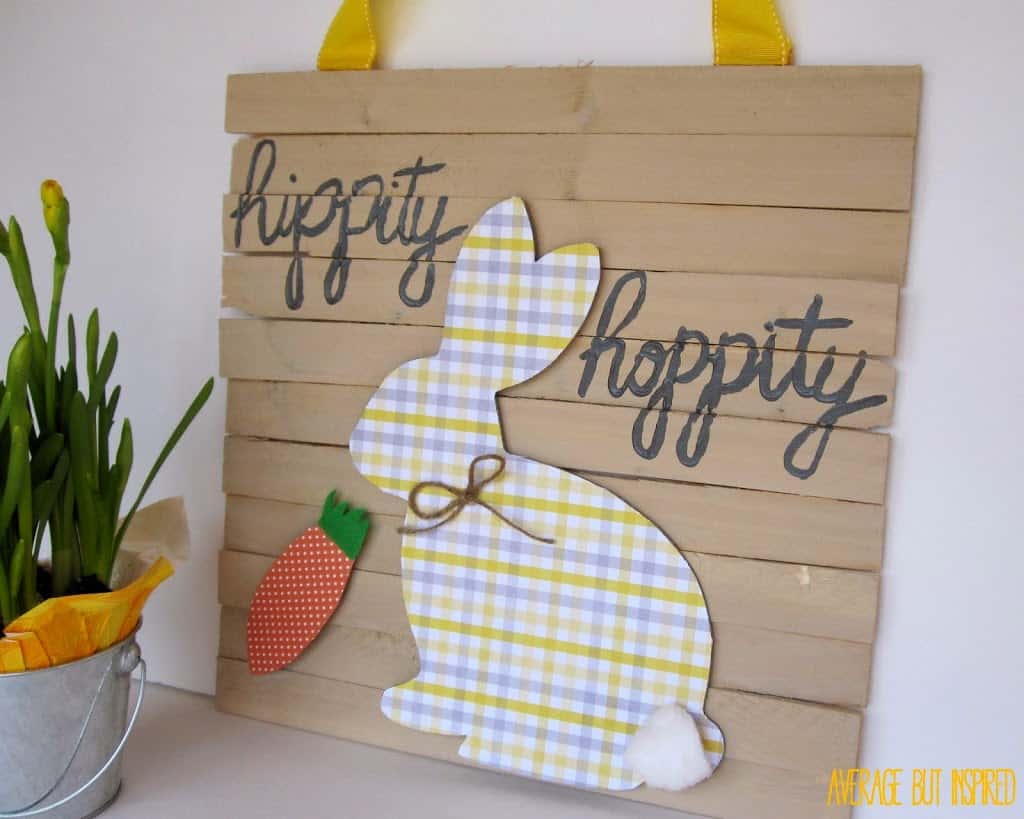
So how excited do you think I was when I spotted an ugly cardboard bunny decoration at Dollar Tree that I knew could be made adorably happy and springy with a little TLC? Goodbye weird bunny displaying an image of another bunny holding an egg almost as large as itself, as well as the lie that “[s]pring is here . . . ” (it is not here. In fact, it may never be coming to Chicago. LIES!). Hello cuteness!

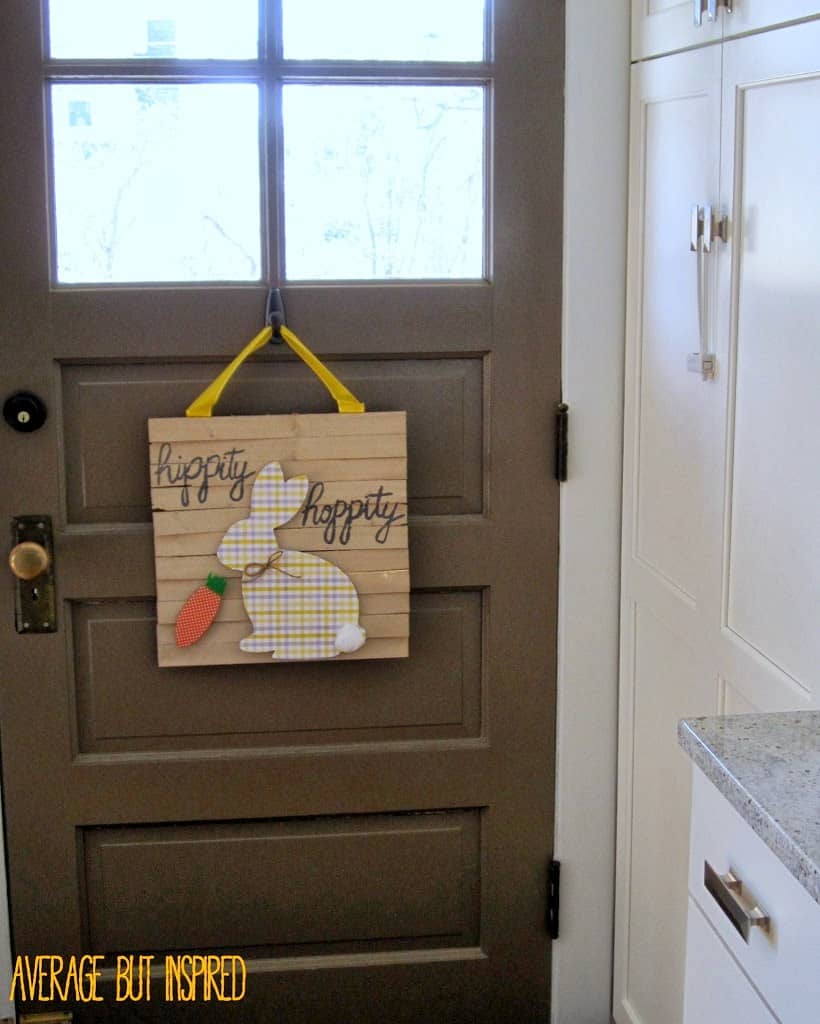
Loved this makeover! It was super easy and super inexpensive. And it adds a dose of happiness to my back door. Hippity Hoppity!
Supplies Needed for Dollar Store Easter Bunny Decor
- Cardboard bunny from Dollar Tree
- Small piece of cardboard for your carrot (I used part of a shipping box rescued from the recycling bin)
- 2 pieces of 12″ x 12″ scrapbook paper (1 for the body of the bunny; 1 for the carrot)
- Spray adhesive
- Wood shims
- Wood glue
- Acrylic paint (two colors – one for wood background; one for text), and brush
- Ribbon
- Hot glue
- Scissors or x-acto knife
- Optional: Green felt (for carrot top); Twine or ribbon (for a bow at bunny’s neck); Cotton ball or pom pom (for bunny’s tail); Paint tips (for easy text painting)
Now, here’s how I did this!
STEP ONE
Spray your bunny and the scrapbook paper with spray adhesive. Adhere the bunny to the paper and press down all over to ensure a good bond.
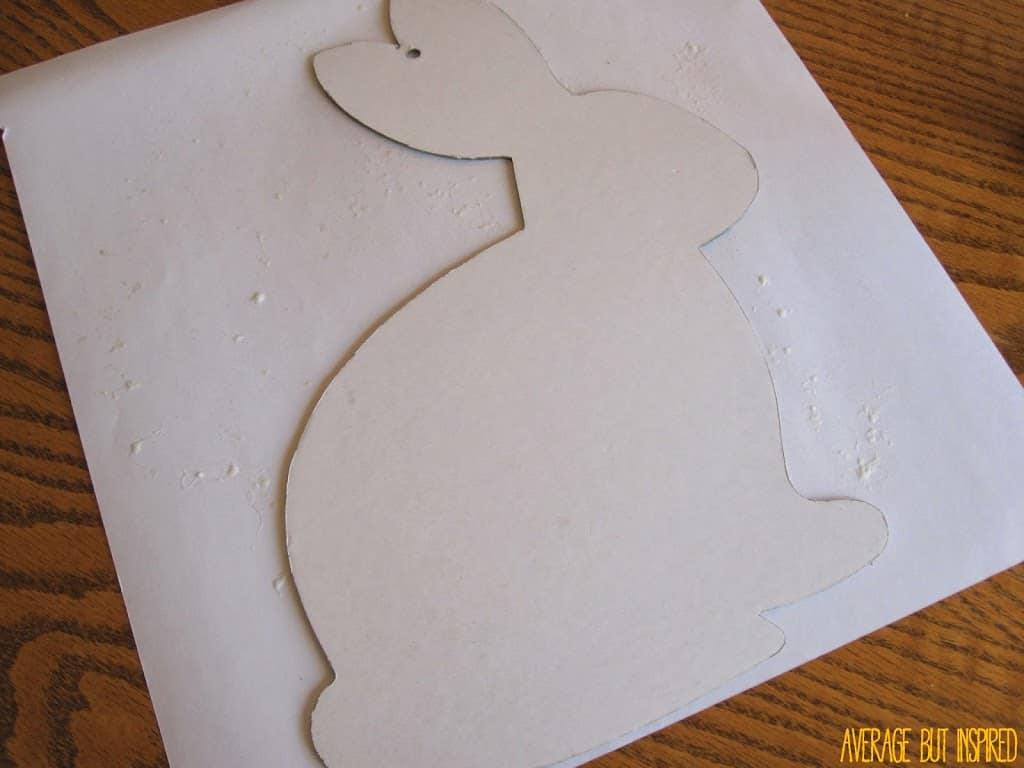
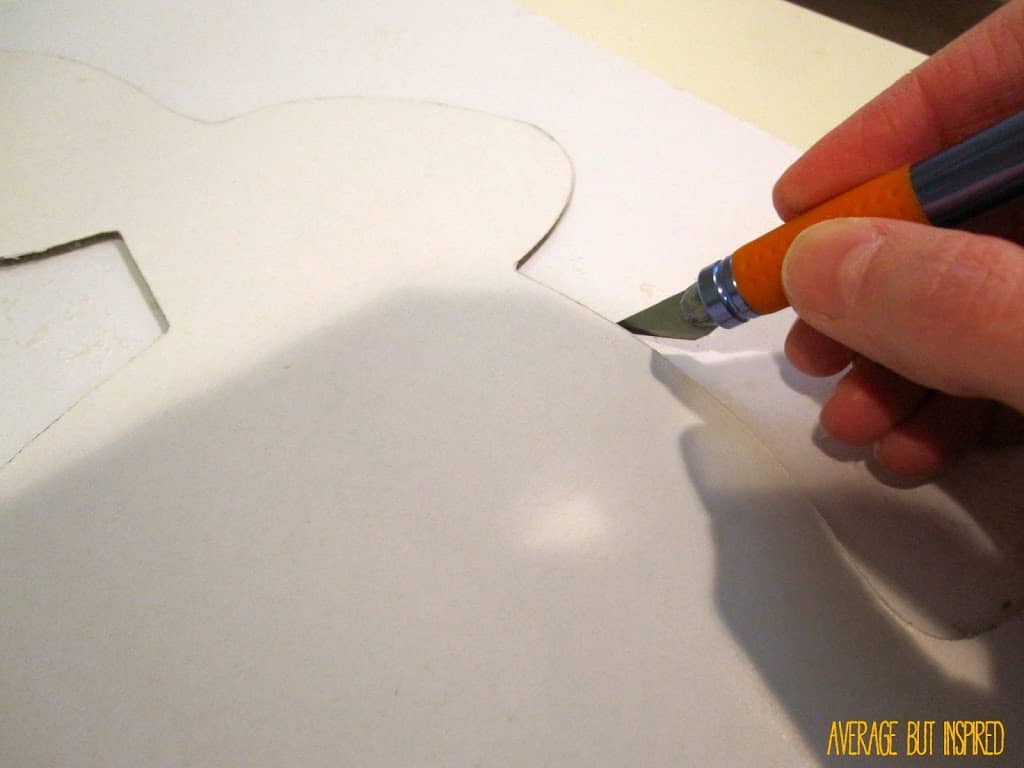
STEP TWO
Cut around the bunny with your x-acto knife or scissors.
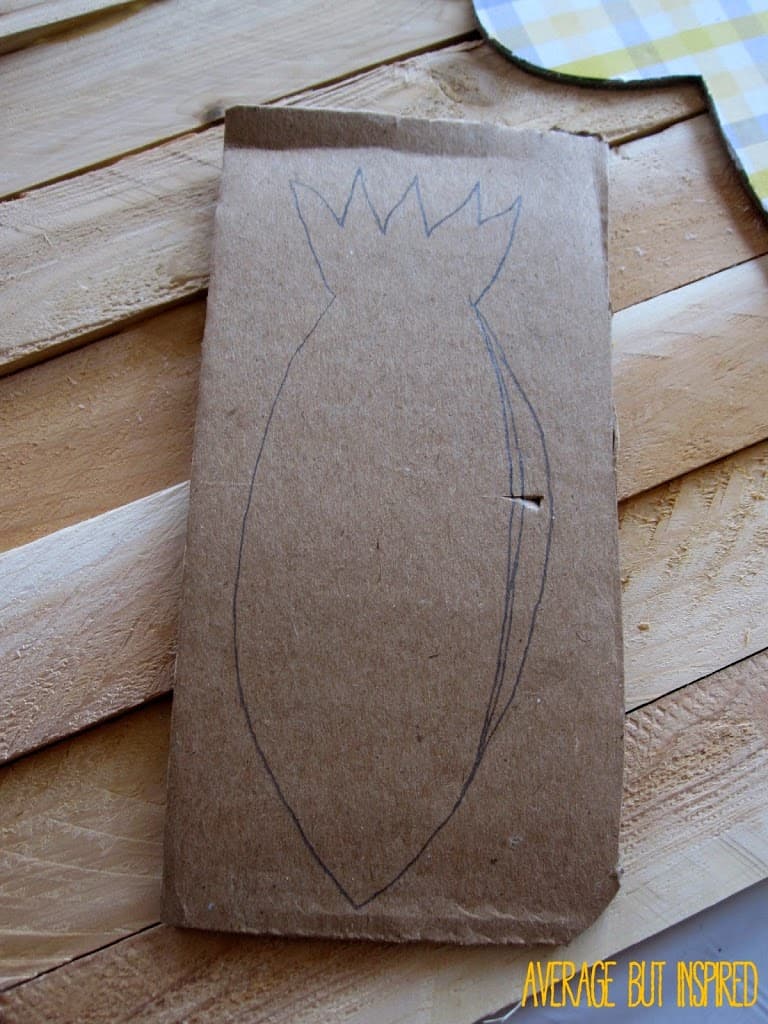
STEP THREE
Draw a carrot shape on your cardboard. (Fix it over and over again until it doesn’t look totally deformed, as shown in the photo below.) Repeat steps two and three to decorate your carrot.
STEP FOUR
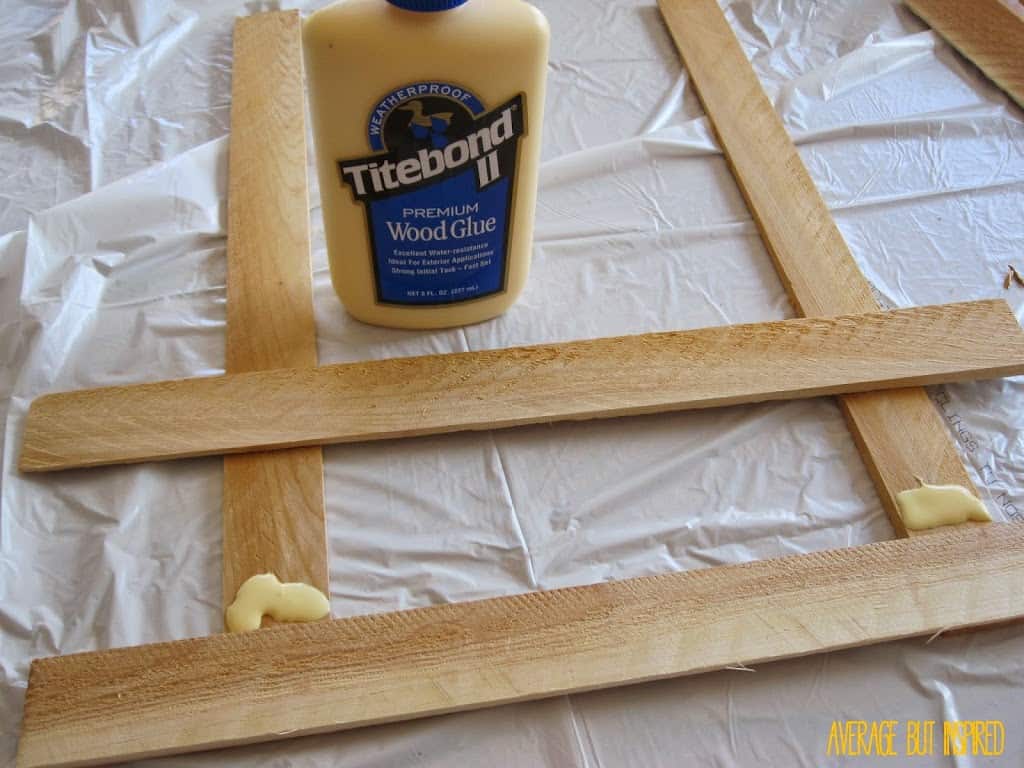
Take two of the wood shims and place them parallel to one another, vertically on your table. Place some wood glue at the bottom and begin to affix your other shims perpendicular to those lying on the table. Glue shims all the way to the top.
STEP FIVE
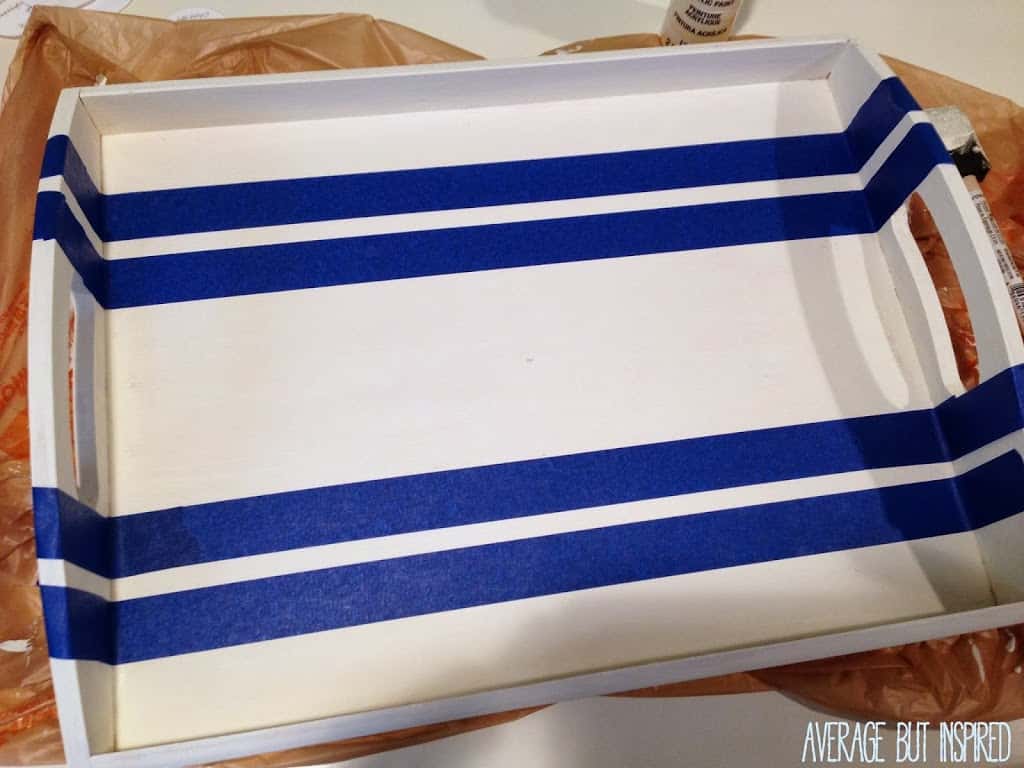
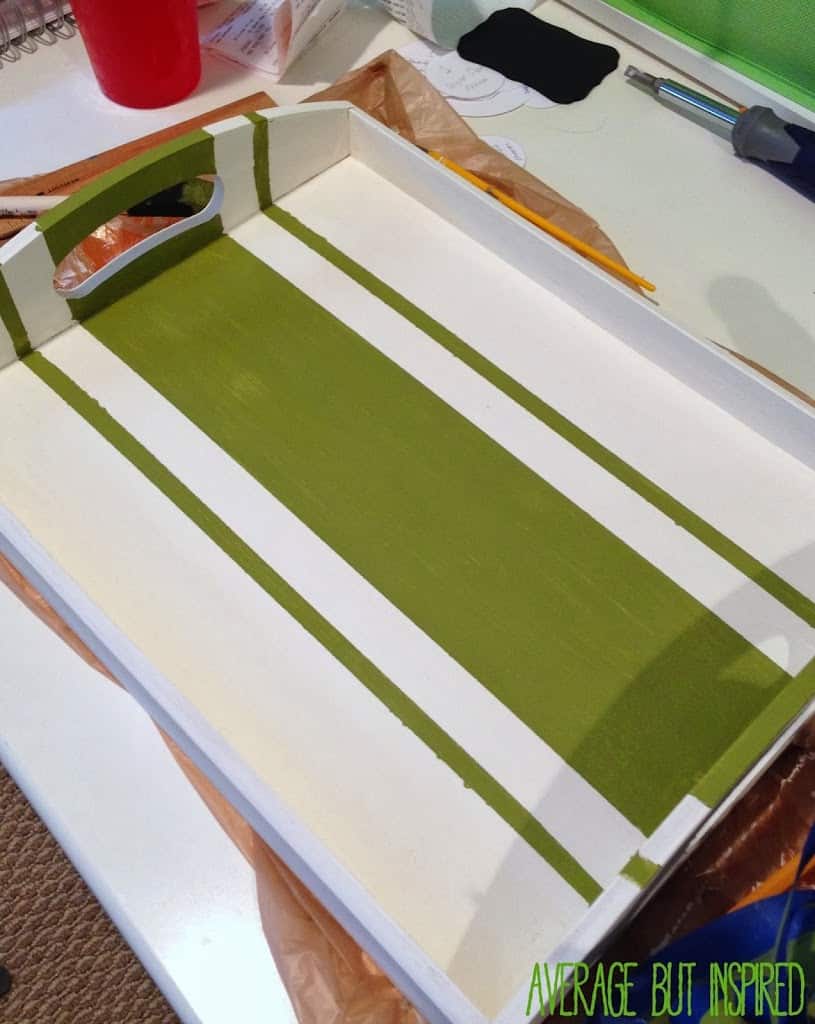
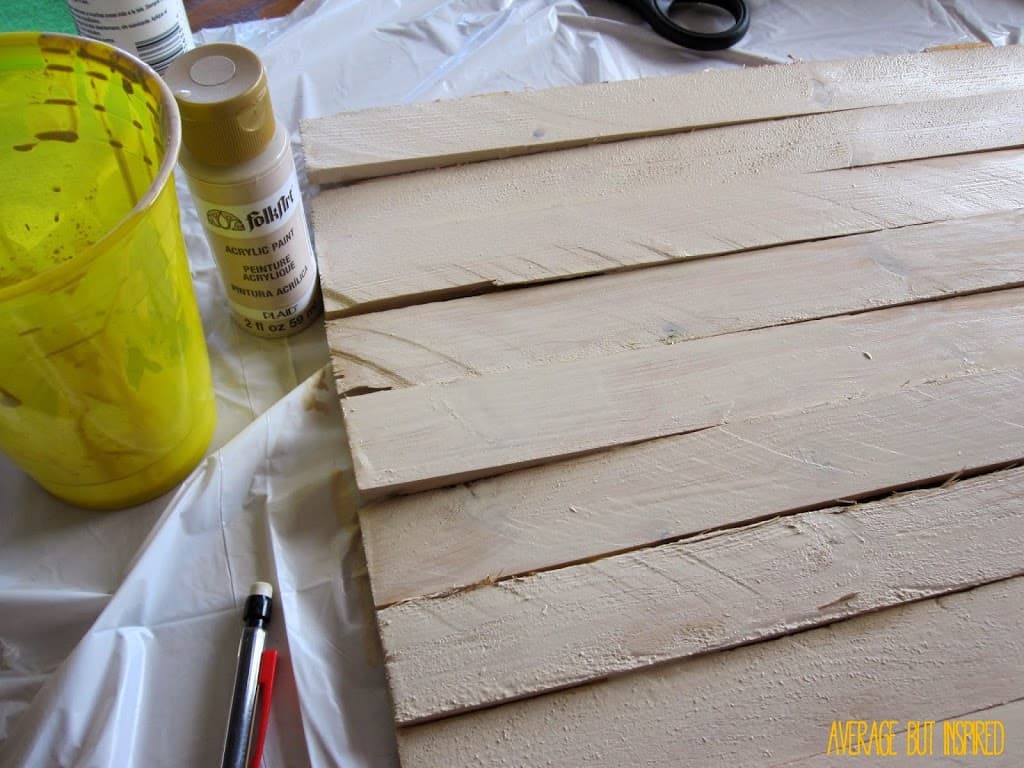
Once your wood shim backdrop has dried (it might take a couple of hours), paint it however you like. I used watered-down acrylic paint for a more unfinished look.
STEP SIX
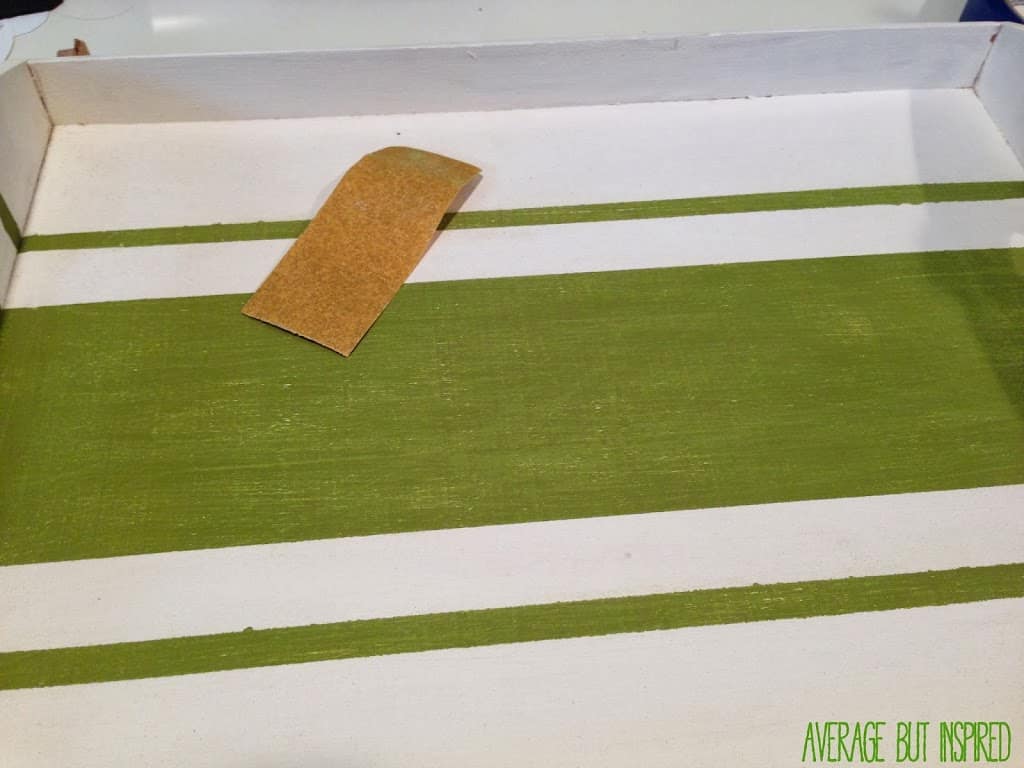
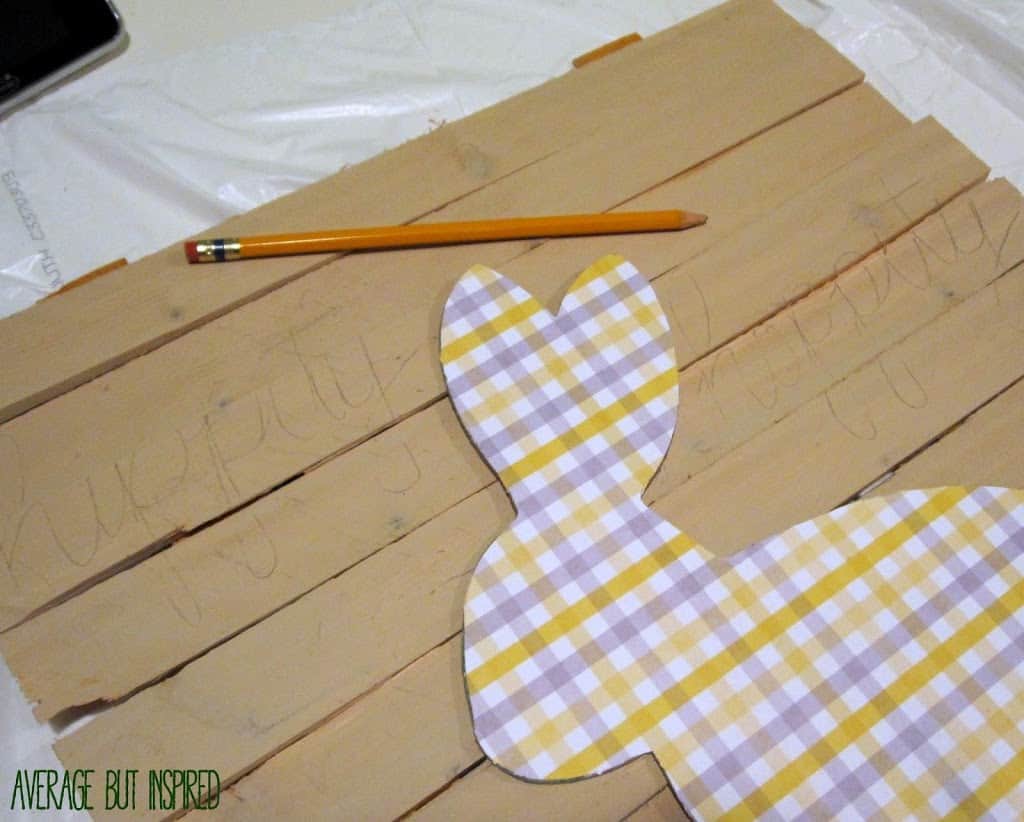
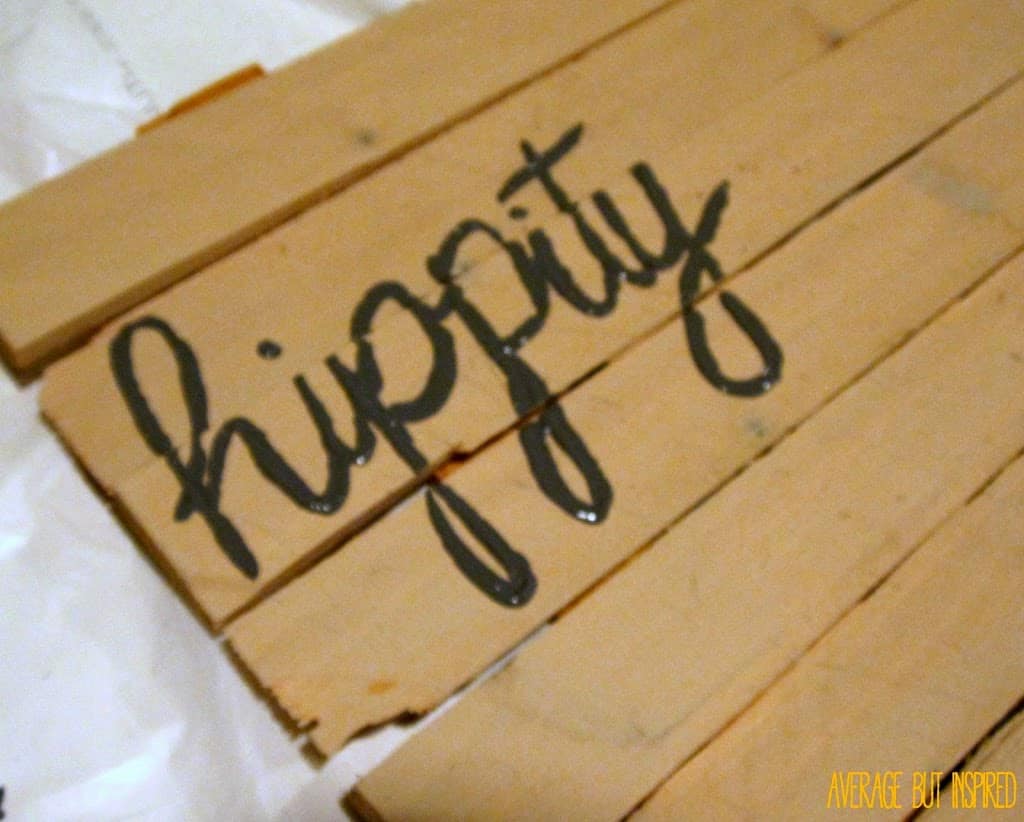
Once the paint has dried, determine the placement of your bunny and carrot (but don’t glue them yet). Then, write your text in pencil, wherever you like.
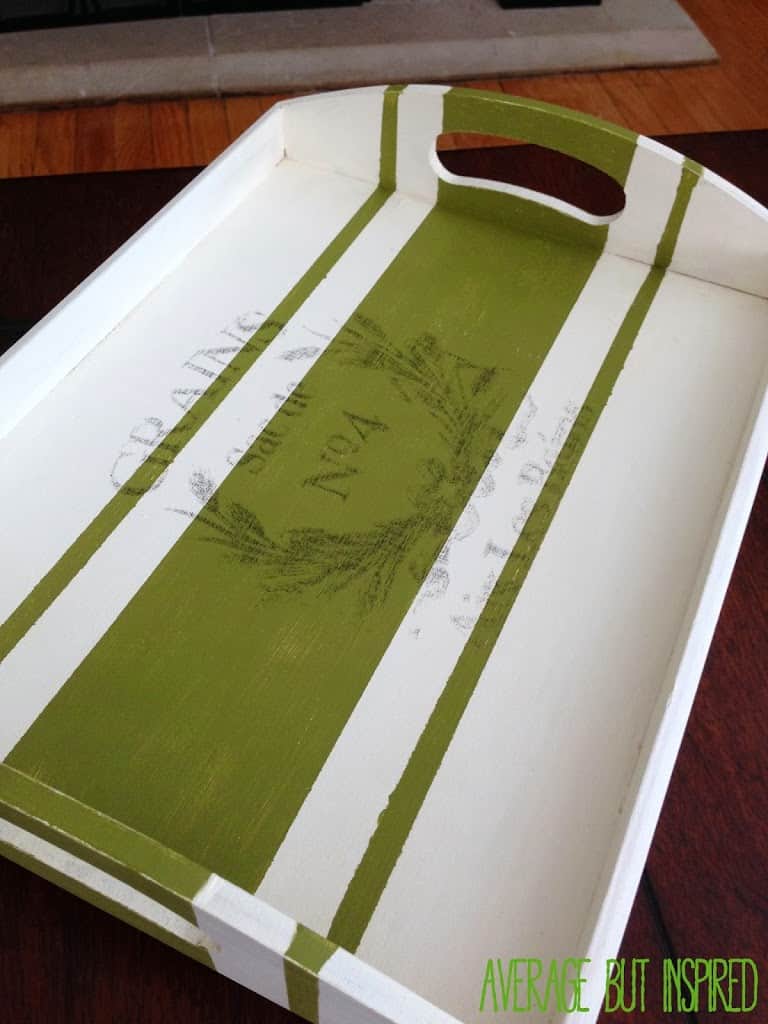
STEP SEVEN
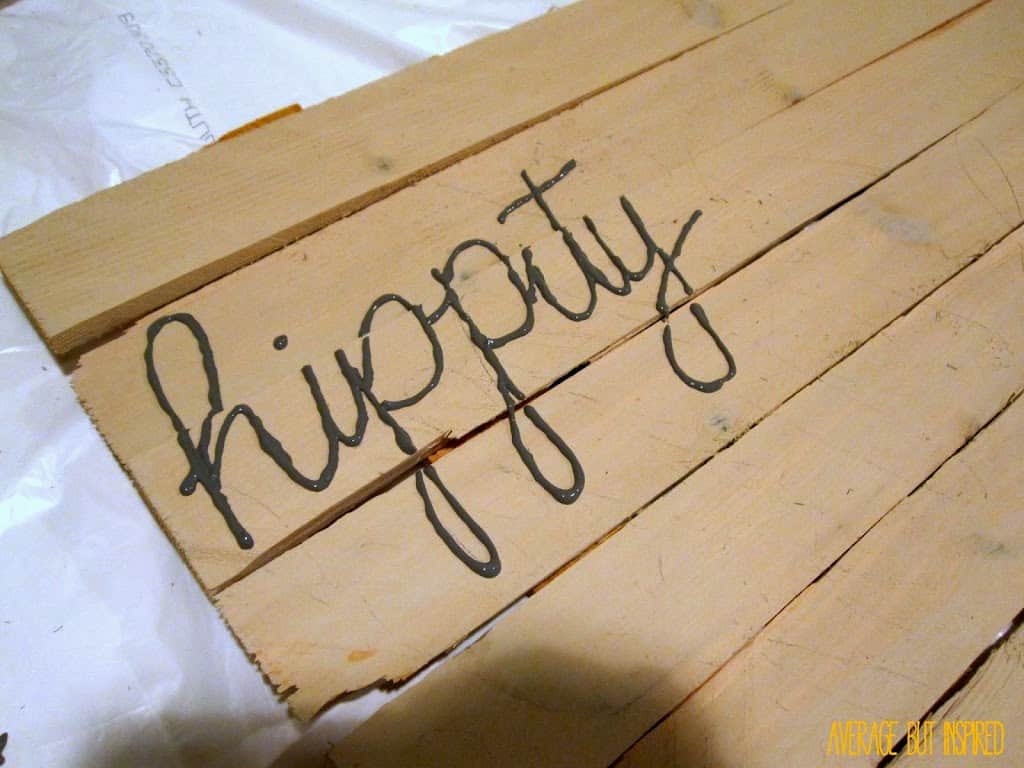
Now, paint over your text with acrylic paint. I used acrylic paint bottle tips, which made painting the text really easy. Then I went over that painted writing with a small paintbrush to give it a flatter and broader look.
STEP EIGHT
Affix your bunny and carrot to your wood background. Add any decorative elements you like (for example, a ribbon at the bunny’s neck and a cotton ball or pom pom at the tail). Glue your ribbon at the top of the wood background for hanging.
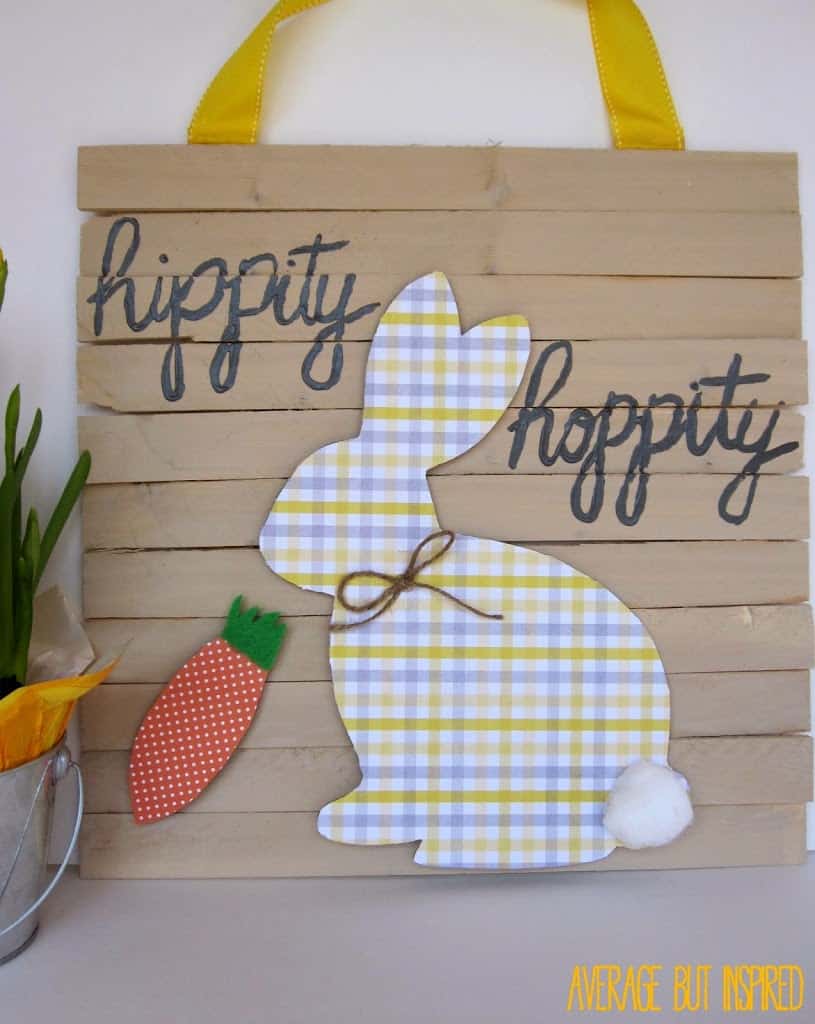
Cute, right?
I feel like this makeover would get Clinton and Stacy’s stamp of approval. What do you think? 
– Bre