
A couple of weeks ago my son and I went to Goodwill to do some treasure hunting. It had been months since we’d been there last and I was ready to find all the good things! Thankfully the trip did not disappoint – I found these amazingly cool vintage lamps that I picked up for $4.99 a piece. With marble bases, brass accents, and white hobnail middles, they were too good to pass up (even though they didn’t work)! 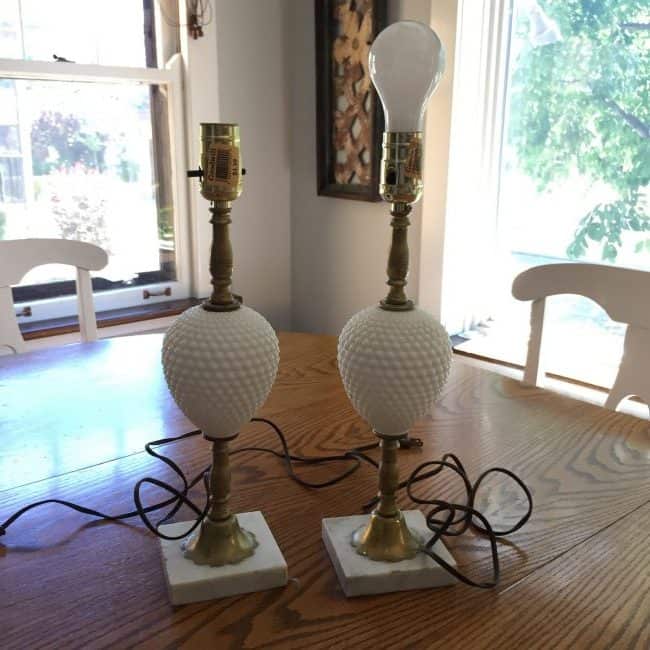
This post contains affiliate links. To read my full disclosure policy, please click here.
After cleaning up the lamps, my husband rewired them for me with these lamp rewiring kits. (Guys – I didn’t even ask him to do that! He just did it one Saturday out of the blue. ALL THE HEART EYES!) Anyway, I was so excited about my new WORKING lamps that it prompted me to redecorate my entire bedroom dresser. (By redecorate, I mean clear off the piles of junk that had been accumulating for Lord knows how long and actually make it look nice.) I completely blanked on taking a picture of my dresser in its messy state, but please trust me that it was a disaster. But here, let me show you my new and improved dresser with my thrift store lamps! 
After I redecorated my dresser, I realized that it was one of the easiest things I have ever done and I wondered why I hadn’t done it sooner. (Then I realized its because the master bedroom usually gets the short end of the stick – since nobody else ever really sees it, it’s the easiest to neglect.) I also realized that having it look nice like that made my entire master bedroom look nicer and made me like the room more!
If you’re like (the old) me and your bedroom dresser serves as more of a dumping ground than a pretty focal point of your bedroom, please know that you’re not alone (ha!), and that you, too, can make a change for the better! Here are the five tips for styling a dresser on the cheap that I came up with while changing out the look of my dresser.
Tip 1: Add Lighting
Before I bought my thrift store lamps, I had no lighting on my dresser. Adding lamps instantly brightened the room and gave some height to the dresser. You don’t have to use two matching lamps; one is fine, too! Just balance it out on the other side with something tall.
Tip 2: Add Some Art and Personal Photos
Bring some color and style to your dresser by adding art. It doesn’t have to be sophisticated; I framed one of my seven-year-old’s paintings from art class!
Also, your dresser is the perfect place to display some personal photos. It is your dresser after all! This picture of my mom, sister, and me on the beach at my best friend’s Florida inn always makes me smile. Plus, it’s adorable on my DIY Wood Plaque Photo Frame.
Tip 3: Make it Functional
The truth about a dresser is that it has to work for you as well as look good! So make it functional with a stylish tray and little bowls to stash jewelry, lip balm, ear plugs (Women Against Snoring Husbands Unite!), etc.
I bought both this hammered gold tray and the little bowl (similar one here) in the kitchen section at Target!
Tip 4: Add Books or Boxes
Books or boxes will add height and color on top of your dresser. I wrapped some books I found in the basement with leftover fabric scraps (including leftover shower curtain fabric from my Master Bathroom Makeover)! This was a free way to put some more color on the dresser! (Plus, if I am suffering from insomnia one night, I’ll have a book right there to keep me entertained.)
If you need more storage space for your jewelry or other things, swap out the books for decorative boxes or a jewelry box!
Tip 5: Add Something Natural
Fresh flowers or greenery immediately adds life to any space, and it’s my favorite thing to put just about everywhere! If you have a black thumb like me, get some realistic faux boxwood to use on your dresser. I have tons of these mini boxwood that I use all over my house! Pop them into a pretty planter for added color and interest.
So there you have it. There are a reformed dresser neglector’s tips for styling a dresser on the cheap! I hope they’ve inspired you to whip your own dresser into shape. If you’d pin this post to get others on the pretty dresser bandwagon, I would really appreciate it!
-Bre
