Add a touch of summertime decor to your fireplace with simple-yet-pretty summer mantel decor.
With all the activity surrounding my kids’ summer break and a time-consuming DIY project happening in the backyard (more on that soon!), I got a little behind in decorating my summer mantel and adding summer decor touches to the living room.
I finally made it happen on a rainy day last week and am so pleased to have my living room looking ready for the season!

This year’s summer mantel incorporates element you saw in last year’s summer mantel as well as this year’s spring mantel.
It’s probably a big “no no” for bloggers to re-use decor, but I believe in being thrifty and re-using things where you can!
This post contains affiliate links. Please read my disclosure policy for more information.
Everything I used on my summer mantel was what I already had.
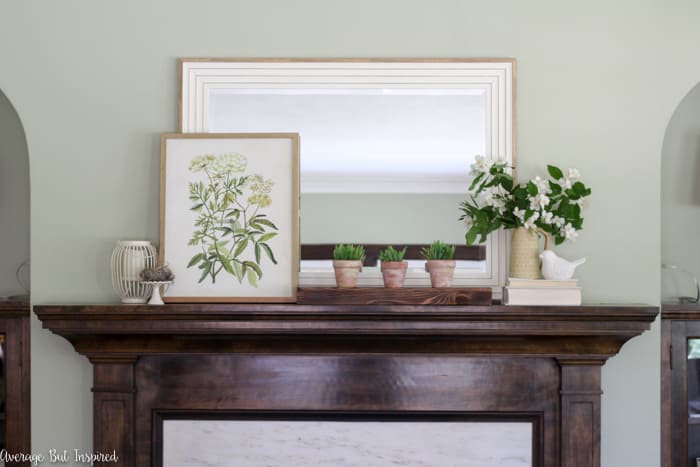
I filled an adorable yellow pitcher with flowering branches from my yard, and stacked it on top of books I wrapped with leftover fabric. I’ve had this little ceramic bird for ages!
On the opposite side of the mantel, I used the same botanical print from last year and dressed it up with a REAL birds nest I found abandoned in our backyard!
(I can hear my mother’s voice in my head: “DON’T touch that!!! You don’t know what kind of diseases are in that!”)
It looks pretty cute sitting on top of the dollar spot cupcake stand.
Bridging the gap between the two sides of the mantel are the same faux aged flower pots you saw in the spring. (Learn how to instantly age terracotta pots with paint in the linked post!)
I think it all comes together in a pretty and simple summer mantel display!
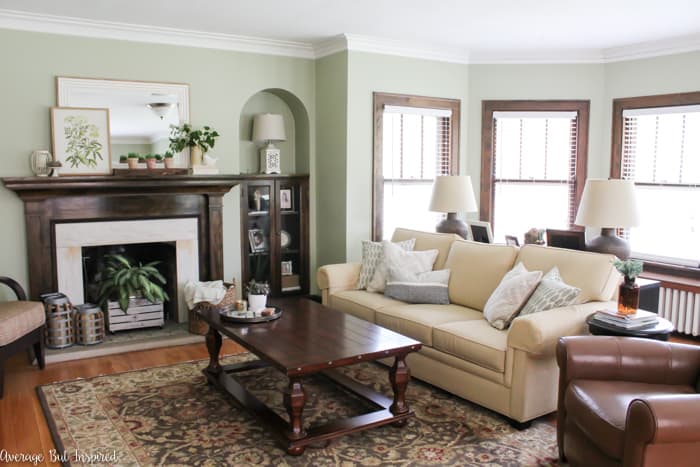
In addition to decorating the mantel for summer, I also added some more summery touches to the living room with new pillow covers and a new tray for the coffee table.
This tray was a $2 find at Marshalls that I spray painted with a doily on top for some extra pattern.
And the pillow covers are from my new FAVORITE home decor source, H&M. I got basically all new pillows in my living room for under $12 a piece (some were under $6 a piece)!
If you haven’t checked out H&M’s home department yet, do it! They have really good prices and the quality of the pillow covers I bought is excellent!
This muted buffalo check pillow cover on the side chair was an Amazon find.
I love the way these simple, summery touches have made my living room look this season. Pillow covers and blossoming branches are my new BFFs (Jasper’s too. See him snuggled up on that chair in the corner?).
-Bre