Learn to create a realistic antique brass finish for any surface!
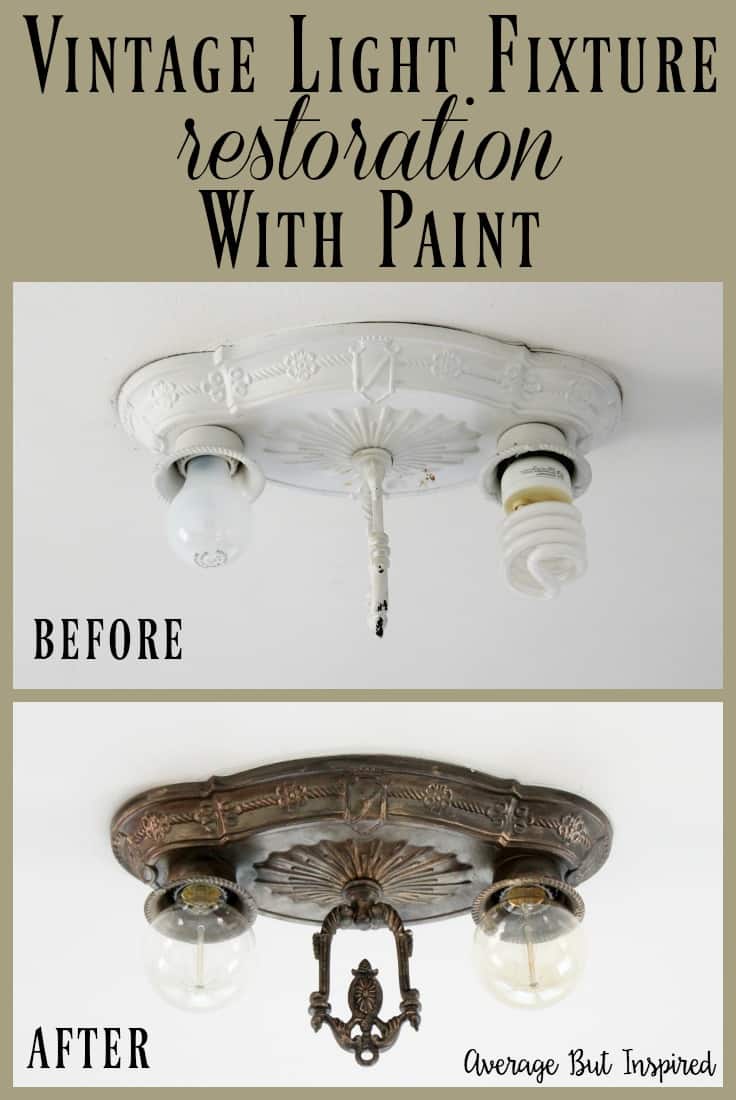
I’ve been plugging along on my playroom to office makeover! Over the weekend, I crossed a big project for that space off of my list: restoring the original 1920’s light fixture to an authentic look with a faux antique brass finish. And you guys, I can’t wait to show you how to paint any surface with this faux brass painting technique!
Getting this faux antique brass finish required some trial and error, but in the end it was totally worth it and pretty easy to achieve!
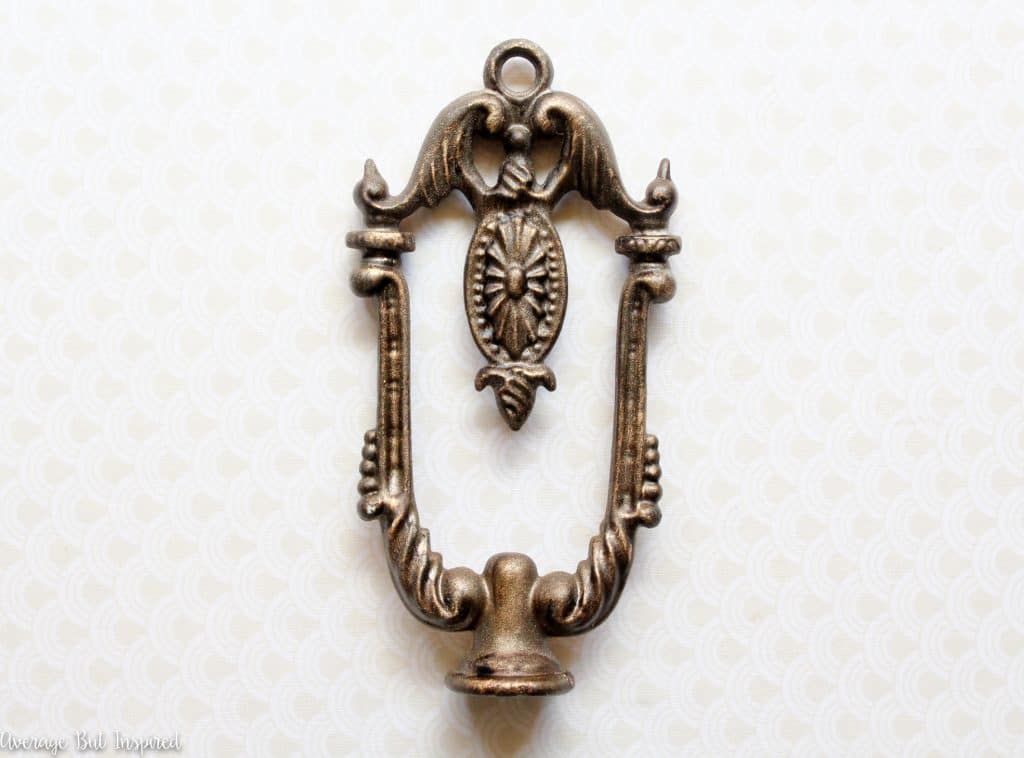
This paint technique can be replicated on so many items: furniture hardware, lamps, light fixtures, decorative accessories and more!
Also, you can use this technique to create a brass finish on metal, a brass finish on wood, or really a brass finish on any surface.
Supplies Needed to Create a Faux Antique Brass Finish
This post contains affiliate links. Please read my disclosure policy for more information.
These are the exact supplies I used to create the antique brass finish shown in this post. Please note that I’ve talked about substitutes and alternative products that may work better for you within the post!
- Rustoleum Bright Coat Metallic Finish Spray Paint in Dark Bronze
- Rustoleum Antique Brass spray paint
- Briwax in Dark Brown
- Rub n Buff in Antique Gold
- Small stencil brush
- Small paintbrush
- Clean, lint-free cloth

How to Create a Faux Antique Brass Finish With Paint
So, you guys, look at this light fixture that was hanging in the abandoned playroom. HEINOUS! At some point in time, a previous owner of the house spray painted it white. WHY? I don’t know.
It removed all of the character and charm from the fixture and left it plain and ugly. (Note: see how neglected this room was? We didn’t even care enough to put matching light bulbs in this fixture!)
Because my husband and I want to keep as much of the original character in the house as we can, I decided that I had to try to restore this light fixture to some of its former glory. Thankfully, my husband was on board, and he took the fixture down for me.
Step One: Clean the Item to be Painted
Once it was safely removed from the ceiling, I brushed off the loose paint with a wire brush. Some shiny gold started to peek through. Because it was SO shiny, I don’t think that was the original color; the underneath side of the fixture was a much more muted brass.
Step Two: Paint with Dark Bronze Spray Paint
Next, I spray painted it with a coat of dark bronze spray paint.
The Bright Coat spray paint worked great on my light fixture because it is metal. If you’re spraying plastic, you should use the Rustoleum Universal spray paint so that the paint sticks to the surface!
I Think You’ll Also Like These Faux Finish Tutorials!
Step Three: Paint with Classic Bronze Spray Paint
After it dried, I sprayed a coat of the antique brass spray paint over the entire piece. I stood farther away so that I wouldn’t be spraying such a concentrated amount onto the fixture.
Again, if you’re painting plastic, you’ll need to use a different spray paint. Try the Rustoleum Universal in Satin Bronze.
Step Four: Apply Briwax Dark Brown Wax
Once the paint dried, I took the fixture inside for round two. At this point, the paint finish looked VERY spray painted. It was pretty much a solid color all over, though there were some spots where the dark bronze paint was visible underneath the shiny bronze. The finish did not look authentic at this point, however.
I got out my trusty Briwax, which I love for furniture refinishing projects, and applied it all over with a small stencil brush.
This instantly darkened the finish and added some variation in tone to the entire piece. (Please ignore my son’s half-eaten sandwich in the background of this photo. He is the world’s slowest eater, and I could not wait for him to finish lunch to work on this!)
I let the Briwax sit for about 20 minutes and then gently buffed off the excess with a clean cloth.
**Note: Briwax is a little pricey if you’re only using it on a small object like this light fixture. If you prefer, you could achieve a similar effect by dry brushing a small amount of brown multi-surface craft paint over any raised surfaces.
Step Five: Add Rub ‘n Buff in Antique Gold
Next, I grabbed the Rub n Buff in Antique Gold and applied some to the raised portions of the light fixture.
This added some awesome highlights to the fixture, and really helped give it an authentic look! Can you believe this was white just a short time ago?
Once everything was dry, it was time to hang up my new, old light fixture! My husband was ready to get it installed when he decided that the old cloth wiring was definitely a fire hazard.
I thought that meant all of my work was for nothing, but then he surprised me with secret master electrician skills, and he re-wired the entire thing in no time! I was shocked (but not really, since I didn’t touch the wires – ha (get it?)), and I have no idea where he learned this from. He’s been holding out on me, I tell ya!
Anyway, once he worked his magic, he hung the light fixture with its faux antique brass finish in the office-in-progress, and I did a dance of happiness (and popped some cool new Edison bulbs in there)!
I mean, seriously, can you even believe this is the same light fixture I showed you above?!?
It looks good – doesn’t it?
This faux antique brass finish turned out so much more realistic than I expected, and I am so grateful for that! I love that I was able to save a piece of my home’s history, and keep this fixture that had been mangled and unsightly for so long.
I think Nicole Curtis will want to be my friend because of this project. (She never called me after I refinished my front door instead of painting it, but I think this project might put me on her radar. 😉 )
I’m assuming that most of you don’t have an ugly 1920’s light fixture in need of restoration, so tell me what you would use a faux antique brass finish on instead? (And please ‘pin’ this graphic if you enjoyed this post!)