The fireplace: a focal point of any room, but is it giving the look you want? If yours has seen better days, you’ll love these fireplace refacing ideas – especially because they’re ALL DIY fireplace remodels!
How do you modernize an existing fireplace?
So let’s be clear, the fireplace makeover ideas in this post are NOT new fireplaces, nor do they involve total demolition of any fireplace. Instead, they are all fireplace resurfacing projects.
This means that the existing fireplace – whether it be brick, stone, tile, or anything else – is covered with a new material. Covering or refacing an existing fireplace is an efficient and cost-effective way to modernize the look of your fireplace.
(Trust me: I know! We saved a ton of money by refacing our 1970s brick fireplace ourselves!)
Can I reface my own fireplace?
You might also be wondering how difficult it is to reface or resurface a fireplace. Of course each project varies in difficulty, but the examples listed in this post are all do-it-yourself fireplace remodeling examples.
This means that you can do it! With some patience and a can-do attitude, you can do anything! (And hey, if you decide it’s too big of a job for you to take on, I know you’ll find a contractor who can do it for you.)
What materials can be used to reface a fireplace?
Before taking on any fireplace project, make sure to consult your local fire code for rules about distance of combustible items from the firebox.
With that information in hand, you can decide what type of material you will use to make over your fireplace. Some common materials that are used to reface a fireplace include:
- stone and stone veneer (a popular product is called AirStone; it weighs much less than natural stone); refacing fireplace with stone is very popular
- wood (again: make sure to maintain a proper distance between any added wood and the firebox – covering brick fireplace with wood will require a portion of the fireplace NOT to be wood unless it’s an electric fireplace)
- tile
- cement or concrete (and faux concrete finishes)

Any of these materials is a great choice to reface a fireplace, or for covering a fireplace or fireplace surround!
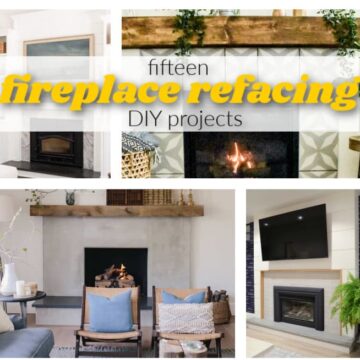
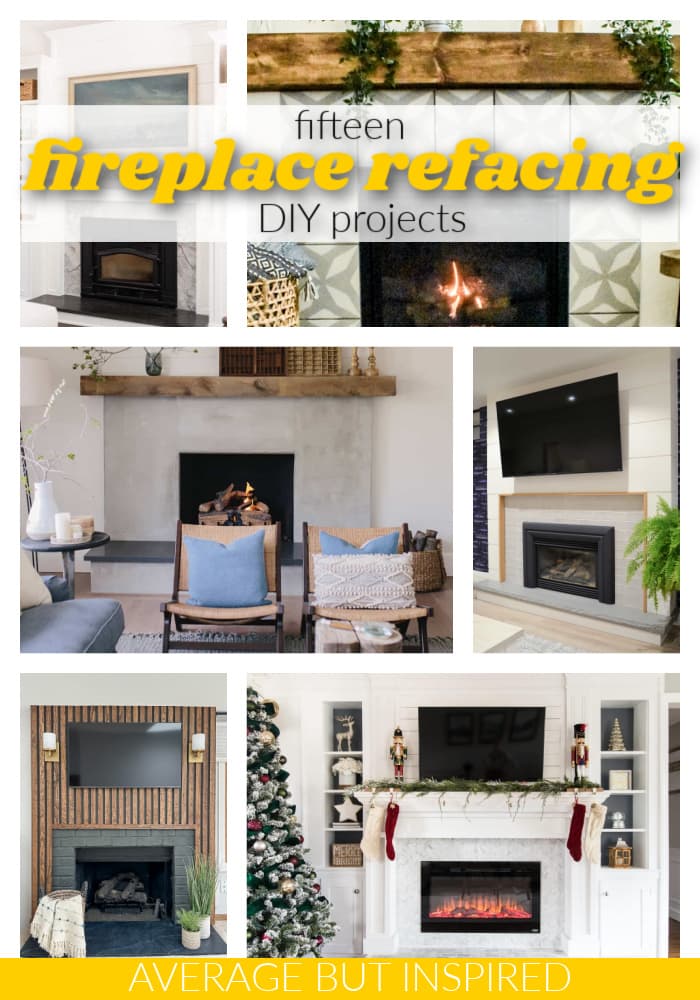
15 Fireplace Refacing Ideas
With that information in mind, check out these inspiring ideas for refacing a fireplace!
My husband and I refaced our 1970's brick fireplace with a modern wood slat treatment. This brought our fireplace up-to-date and gave us a way to hang a tv above the fireplace, too!
Limewashing the brick and cleverly adding interesting wood trim around the firebox makes for one gorgeous fireplace makeover. The beauty of this makeover is that the brick still shines through, but with a fresh look.
Cover an existing brick fireplace with a stone-look product that weighs 75% less than real stone! Resurfacing a fireplace with artificial stone maintains a natural look, but adds even more texture than standard brick.
This handy couple resurfaced their stone fireplace with tile and shiplap. Get the step-by-step fireplace remodel details in their post.
A 1970's style stone fireplace got a sleek new look with a DIY feathered concrete finish. A gorgeous new sliding fireplace screen makes this fireplace remodel extra special.
Simply painting a tile fireplace surround and adding a new mantel gave this fireplace a brand new look! This is a budget-friendly and beautiful fireplace makeover.
A brick fireplace got a sleek new look with cement, a wood mantel, and wood planking above the mantel. This is an incredible fireplace resurfacing project that you will want to see more of!
Want to reface your fireplace to hang a tv? This is a wonderful solution! Read more to see how Tanya at Dans le Lakehouse resurfaced part of the fireplace to accomodate a flat screen television.
This gorgeous stone covers a dated Tuscan-style tile. Taking the stone all the way to the ceiling makes for drama in this gorgeous room.
While many try to cover brick fireplaces, Rachel at Maison de Pax was glad to add it to her unique glass fireplace. This DIY fireplace remodel is stunning, with brick, wood paneling, and built-in shelves flanking the fireplace.
Take two of this 1970s brick fireplace refacing project led to stunning results! Light and airy, but still full of texture and interest, this fireplace shines.
This gorgeous fireplace makeover features a lovely herringbone tile placed right over the pre-existing brick surround. It brought a classic yet modern touch to a beautiful living room.
Marble and wood combine for a gorgeous fireplace refacing project! A previously underwhelming red brick fireplace got a beautiful new life with this DIY fireplace remodel.
What a fireplace makeover! A faux concrete finish on the lower part of the fireplace paired with vertical planking above the mantel makes for a breathtaking brick fireplace remodel.
Gorgeous marble tile and detailed trim work resurfaced a dated brick fireplace beautifully.
With these ideas for ways to reface a fireplace yourself, you’re well on your way to giving that old fireplace a modern look!