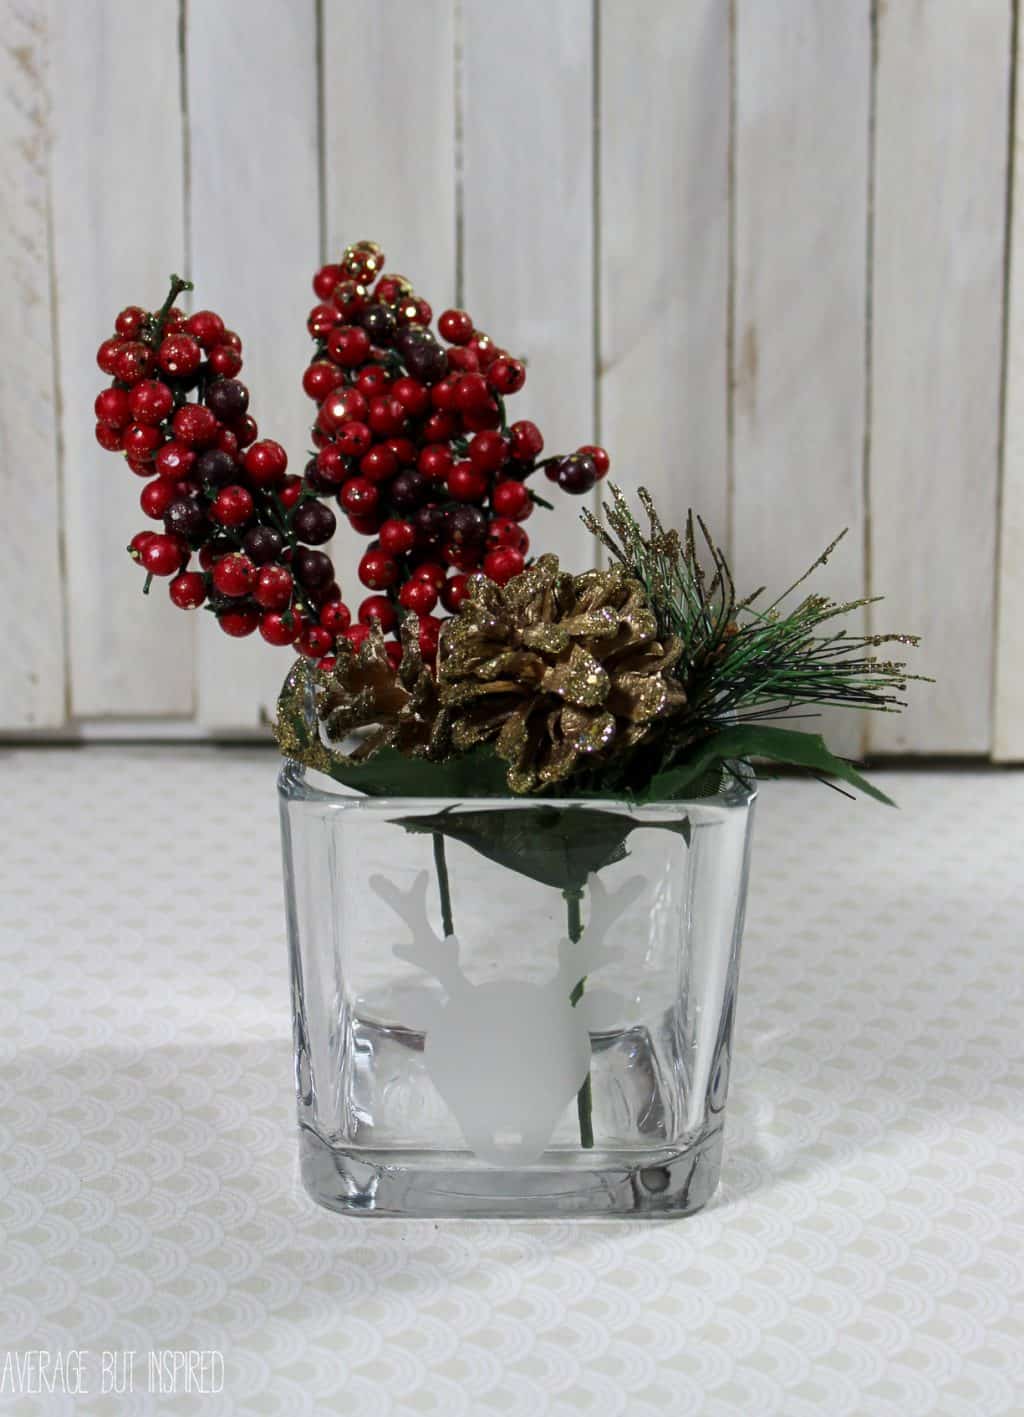

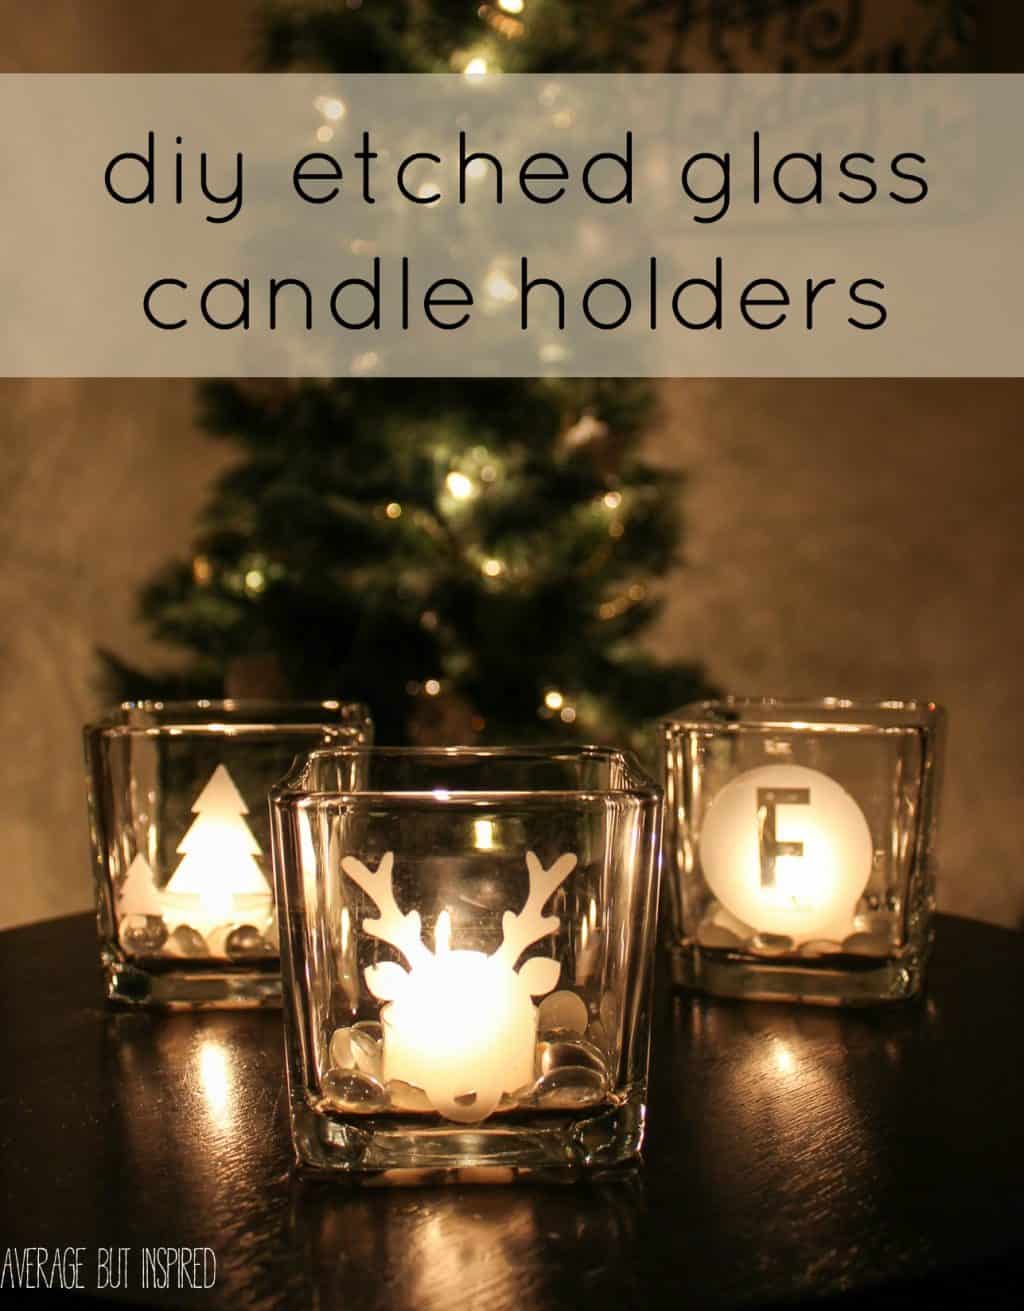
Glass etching is such a fun and impactful craft! Learn how to make these DIY etched glass candle holders with dollar store supplies. They look much more expensive than they are!
The season of giving is upon us, and at times, that can be overwhelming! So many people to shop for and so much money to spend! Luckily, I have an AWESOME DIY gift idea for you that is inexpensive to make but so fun, too!
DIY etched glass candle holders are a really simple project, and they can actually be used in a few different ways (which I’ll fill you in about below).
Supplies Needed to Make Etched Glass Candle Holders
These are the supplies I used to make the etched glass candle holders shown in this post. Feel free to substitute anything to create a project of your own!
Some of these links are affiliate links. Please read my disclosure policy for more information.
- Small square candle holders
- Armour Etch glass etching cream
- Plastic knife
- Rubbing alcohol
- Cotton balls
- Electronic cutting machine (like the Cricut Joy) and removable vinyl or contact paper. Alternatively, try Christmas glass etching stencils.
- Paper towels
- Vase filler stones
- Votive candles
Glass Etching Tutorial
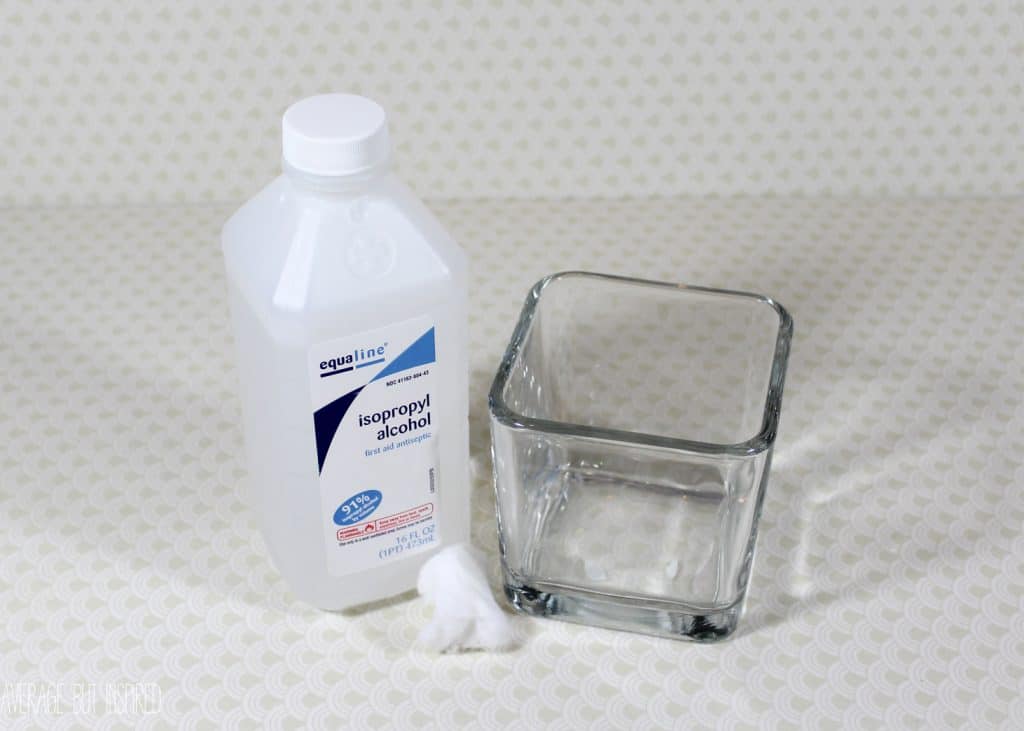
First up, clean the glass candle holder to make sure it’s free of any oils or residues. Gently wipe it with a cotton ball that’s been soaked in rubbing alcohol and let it dry.
Next, if you’re creating your own stencils on an electronic cutting machine, like a Cricut, make your designs and measure them to fit the front of the glass vase.
Simple shapes are best. I used seasonal silhouettes, state shapes, and monograms. Mine were just about 2″ wide and high.
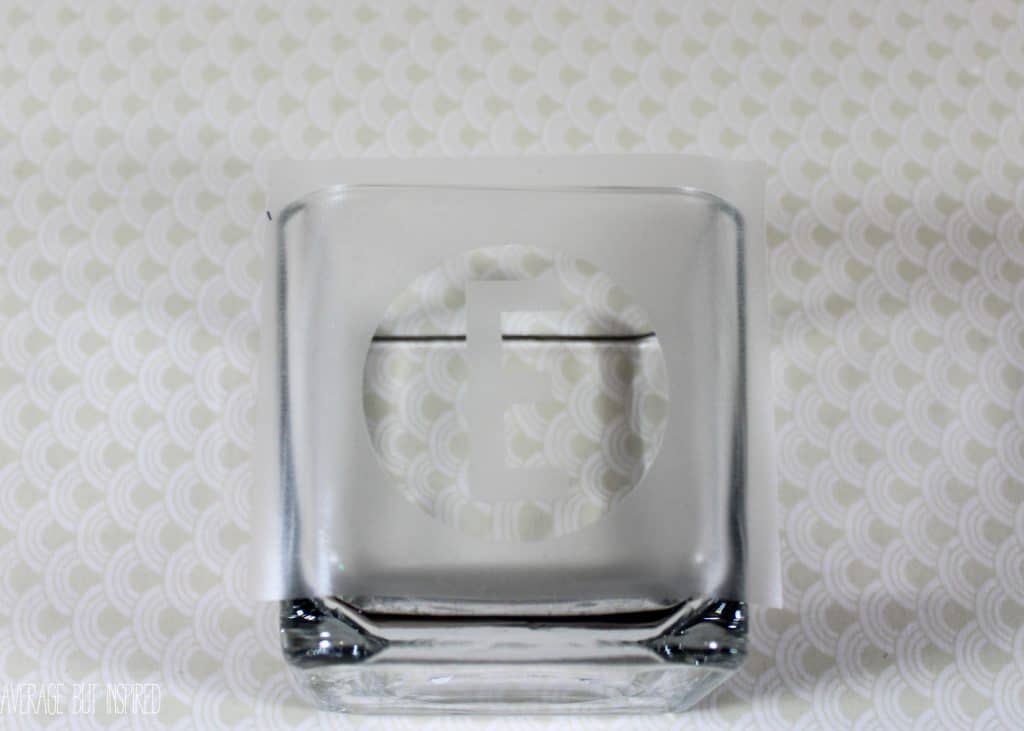
Cut them from removable vinyl or contact paper, and press them onto the glass. Make sure they’re firmly pressed down along all edges!
If you’re going to do your etching with a premade glass etching stencil, make sure to follow the directions on the stencil package.
Apply the glass etching cream, using the plastic knife or palette knife, and make sure to cover the entire area to be etched.
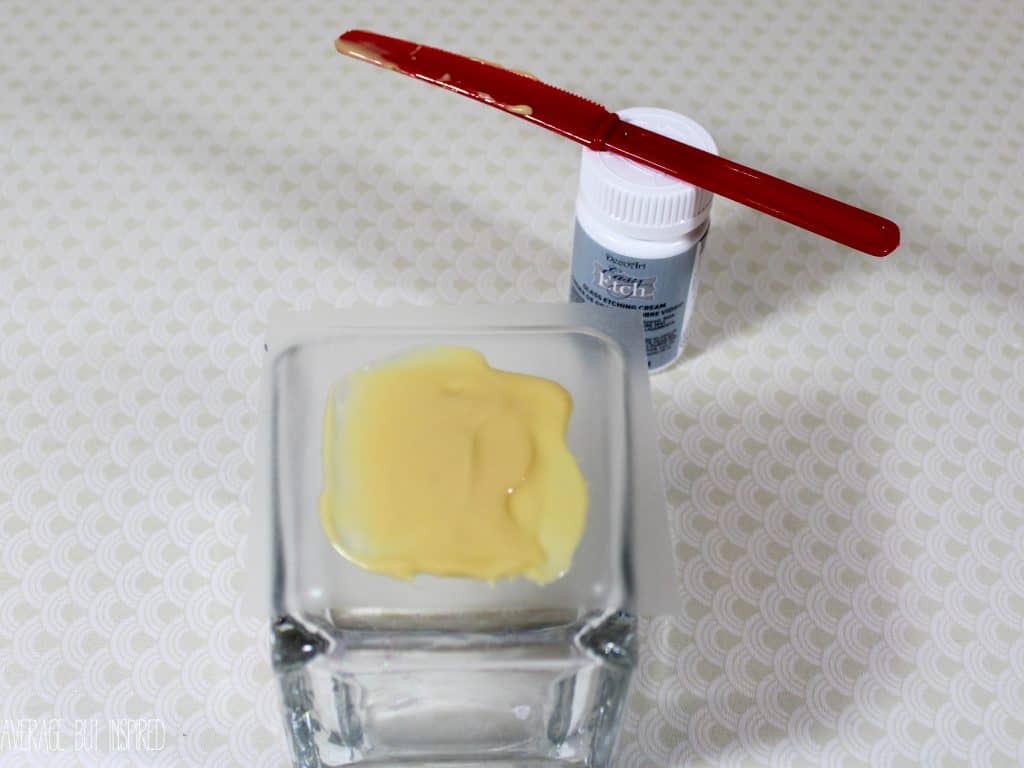
Let it sit according to the directions on the package (mine took about 15 minutes).
After the proper amount of time has passed, use the plastic knife or palette knife to remove the etching cream from the glass. The directions on my etching cream said I could reuse that cream, so I put it back into the container.
Rinse off the excess etching cream and gently pat dry with a paper towel. Pop in your votive candles and enjoy!
I Think You’ll Enjoy These Other Christmas Crafts, Too!
I also filled some of the space with floral accent gems, but that’s optional.
This was my first time using glass etching cream, but I am OBSESSED. It is like magic in a jar! I honestly did not think it would work, but it did, and I love it!
One good thing to note is that the etching is dishwasher safe, too!
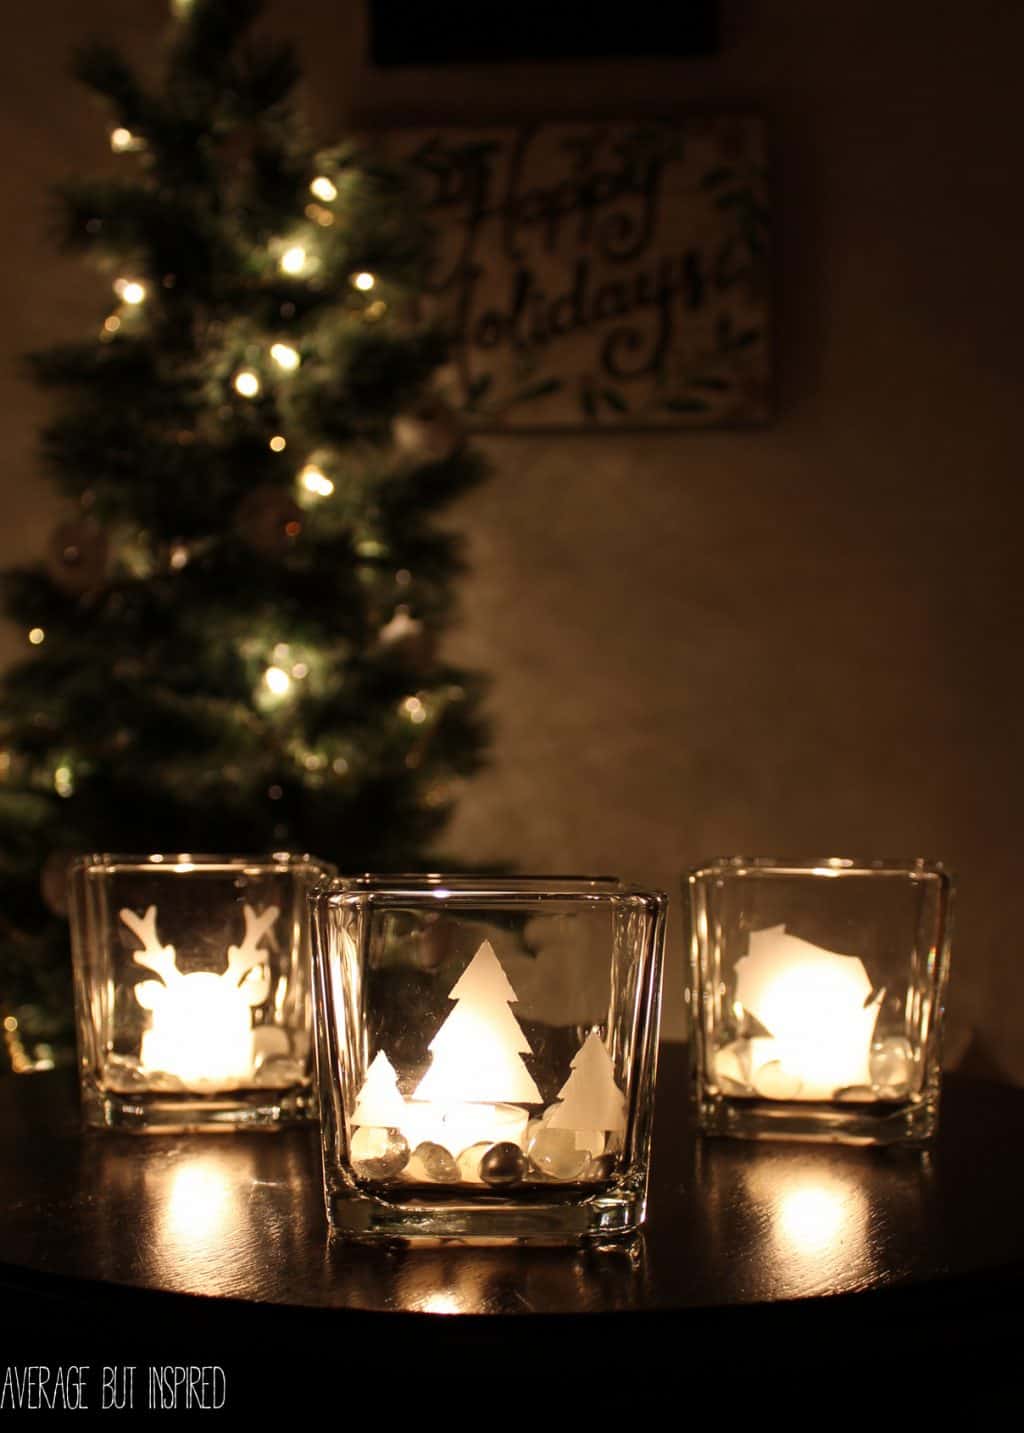
I will be giving my DIY etched glass as votive candle holders this holiday season, but I think you could easily give them as makeup brush holders or vases, too!
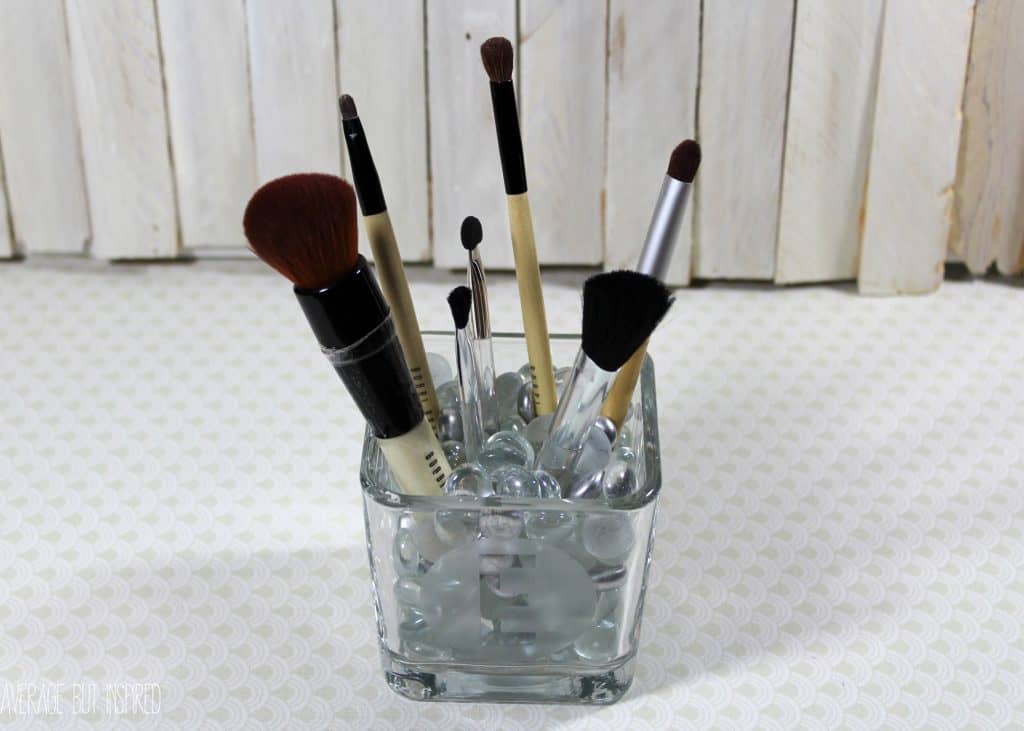
Pretty cute, huh?