You’ll love these smart binder ring organization ideas! Get your daily life in order with these genius binder ring uses.
Welcome to Part 3 of my series, Dollar Store-ganization, where I share tips and tricks for getting organized with products from the dollar store.
The goal of this series is to show that you don’t have to spend a fortune to get your life (or stuff!), in order!
This post contains affiliate links. Please read my disclosure policy for more information.
In case you missed it, Part One of this series was all about mesh laundry bag organizing ideas.
And, Part 2 focused on utility closet organization with dollar store items.
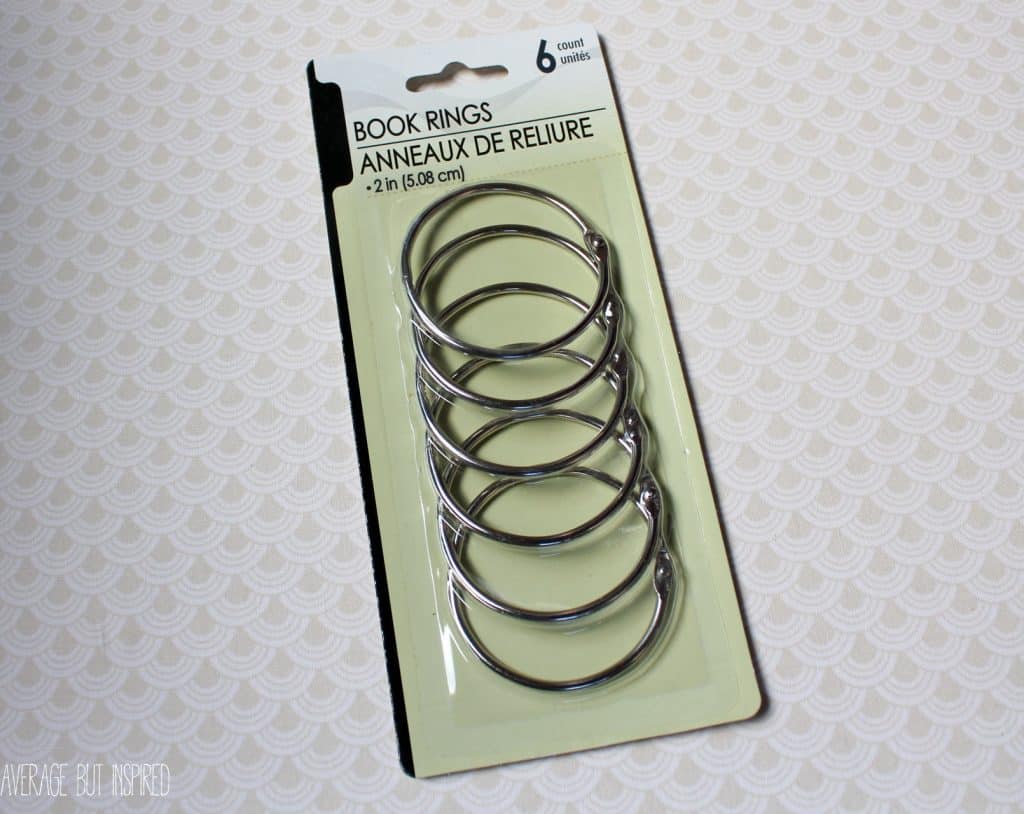
This post is all about the mighty binder ring (aka looseleaf ring or book ring) – the often overlooked but oh-so-valuable binder ring. Seriously.
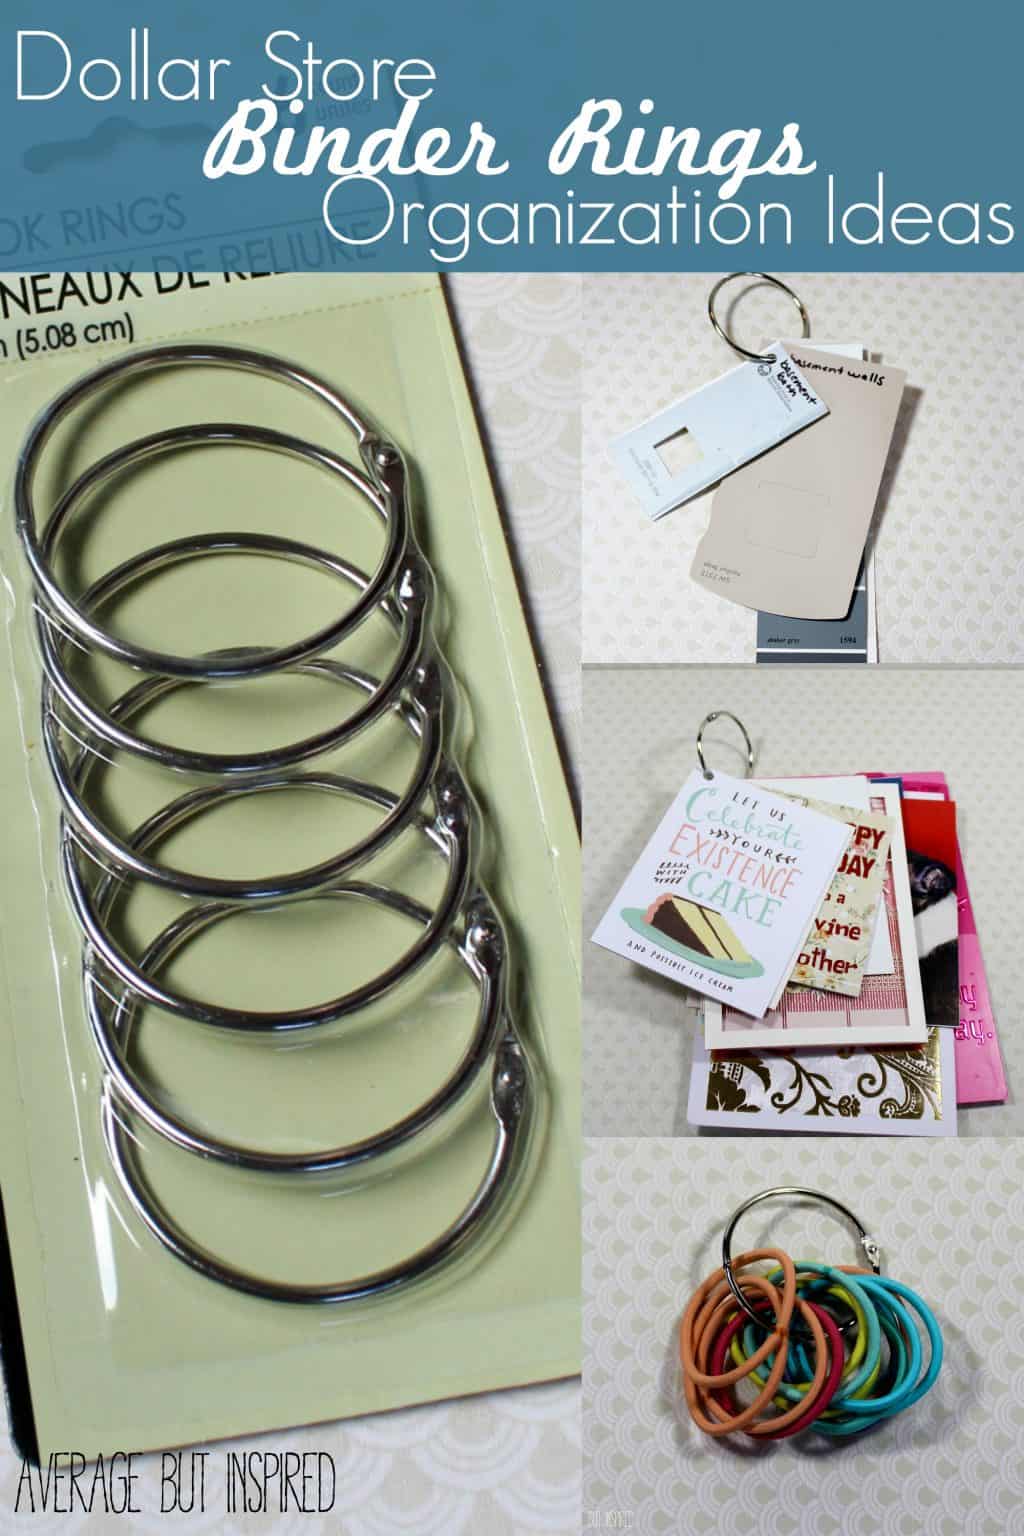
I’m sure you’re thinking that the binder ring can’t really be that useful, but it is! And because you get six book rings for $1.25 at Dollar Tree, you’re about to fall in love!
Here are some of my favorite ways to use these babies!
Binder Ring Greeting Card Organization
If you save cards that you receive, they can quickly accumulate and become difficult to contain. I used to keep mine loose in a box in my closet. And it would fall on my head all.of.the.time, sending cards flying everywhere. SO ANNOYING!
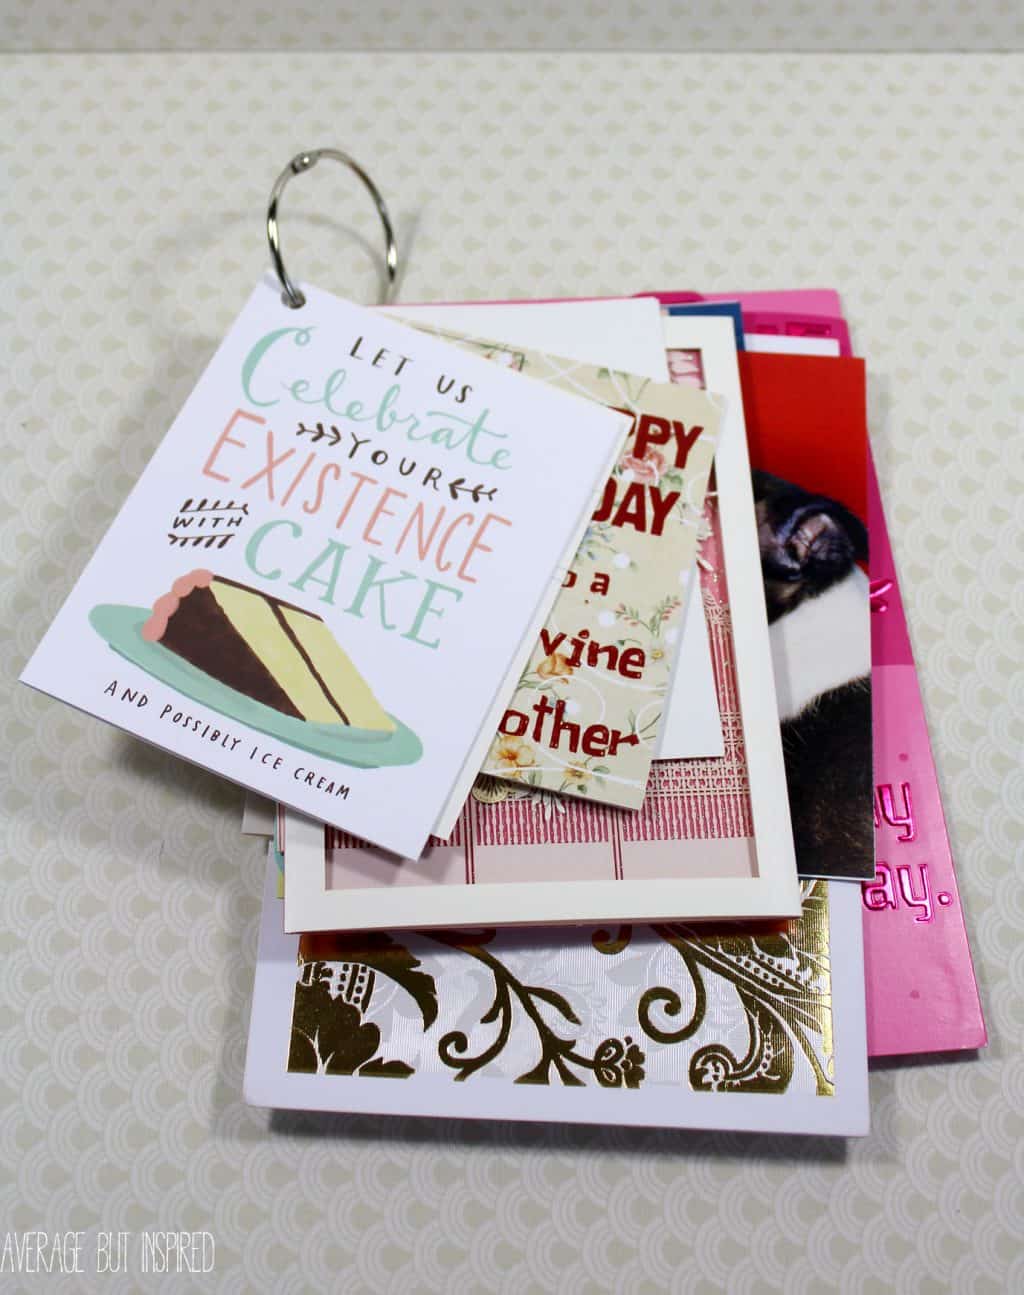
Now I pop them onto binder rings, which keeps them together and makes them easy to look back at.
I put mine on different rings depending on the occasion and/or sender. Now if the box falls on my head, at least the cards do not fly everywhere!
P.S. this is a perfect way to organize Christmas cards you receive! At the end of the holiday season, punch holes in each card and slide them onto a binder ring. You’ll have a fun card keepsake.
Organize Paint Chips with Binder Rings
Binder rings are the PERFECT place to corral paint chips!
Put the colors you already have in your house on one, and the colors you may want to use in the future on another! This makes it easy to pop them into your purse and match with home accessories on the go!
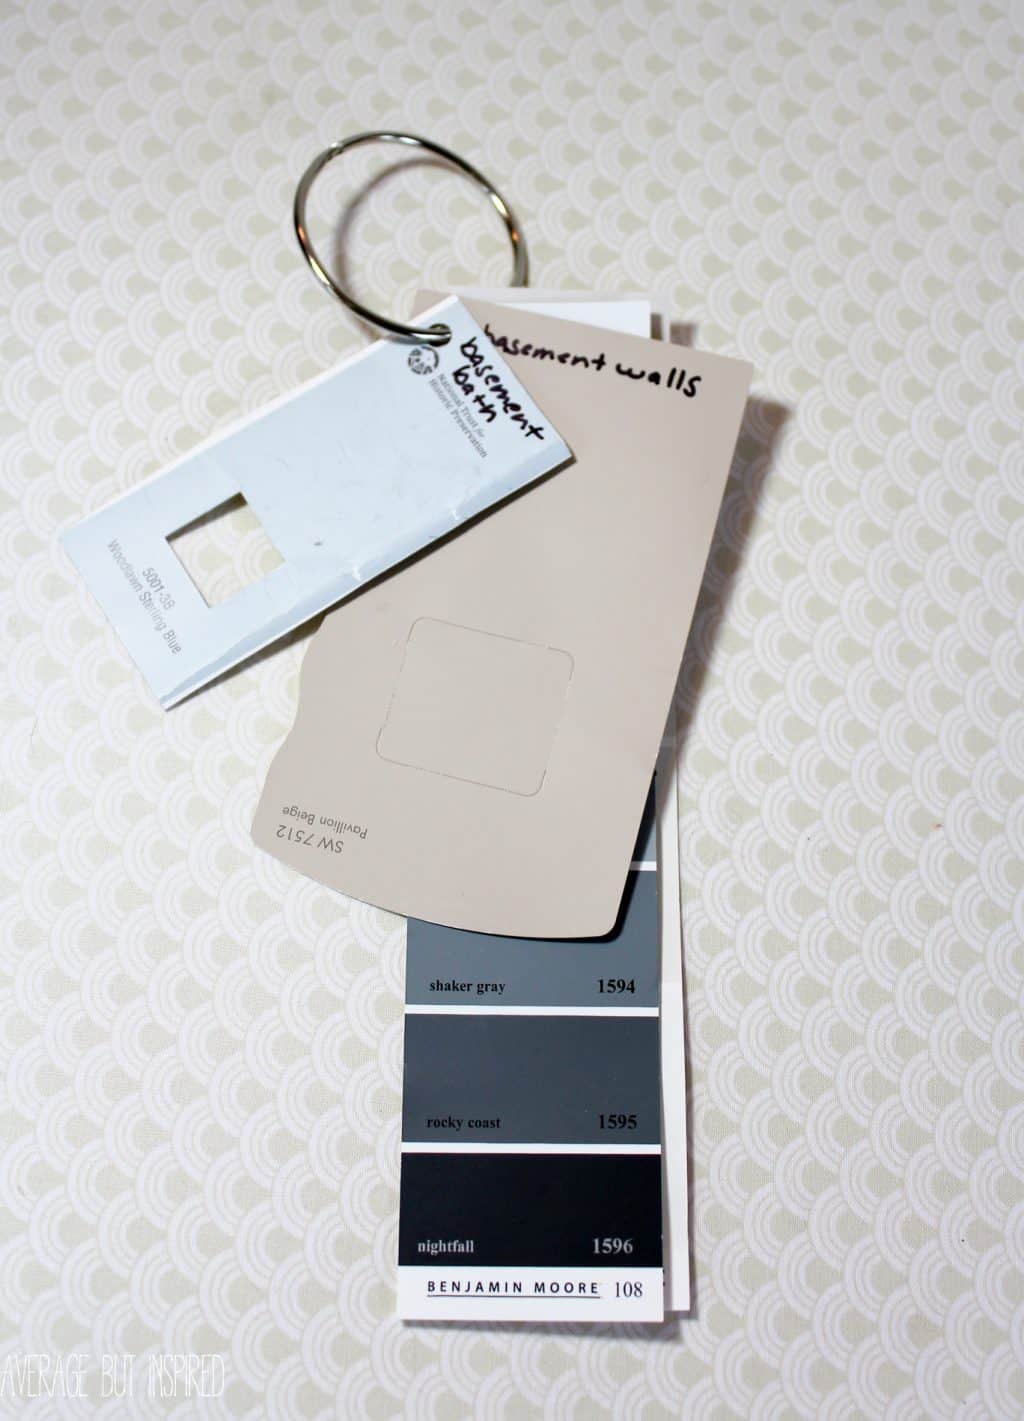
Plus, having them in one spot means you’ll be less likely to forget what color your living room is painted (ahem, ahem . . . not that I’d know anything about that).
This would work equally well for fabric swatches!
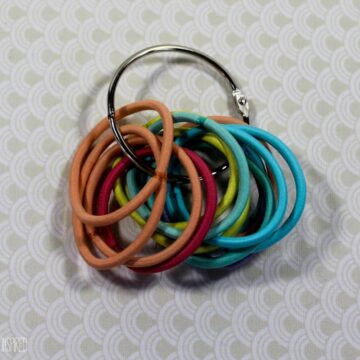
Corral Ponytail Holders with Binder Rings
Life changing, this one is. Keep all of those ponytail holders in one spot on a binder ring!
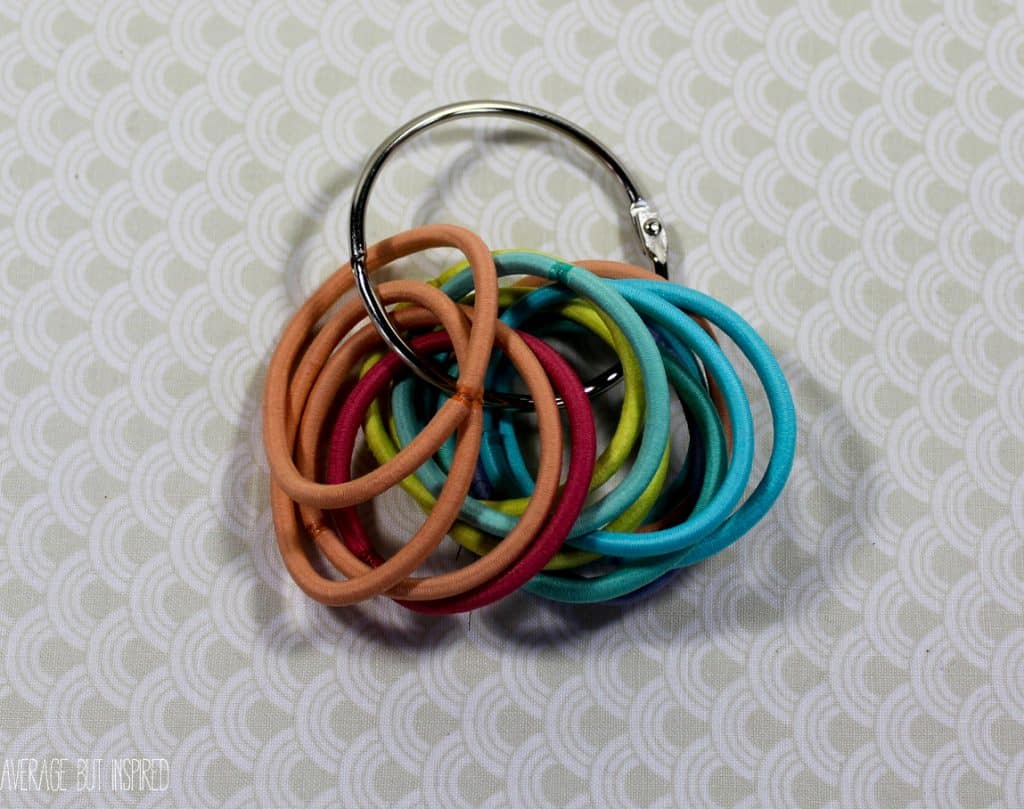
This is the best way to have ponytail holders on the go (like in your purse or car), or even at home (like in your makeup bag).
You’ll never be hunting for ponytail holders in random places again if you put them on a binder ring! (I was a chronic “I bet I can find one in my jeans pocket!” girl before I started this method of keeping them together!)
Takeout Menu Organization
If you order delivery or takeout a lot, then you probably have lots of restaurant menus at home.
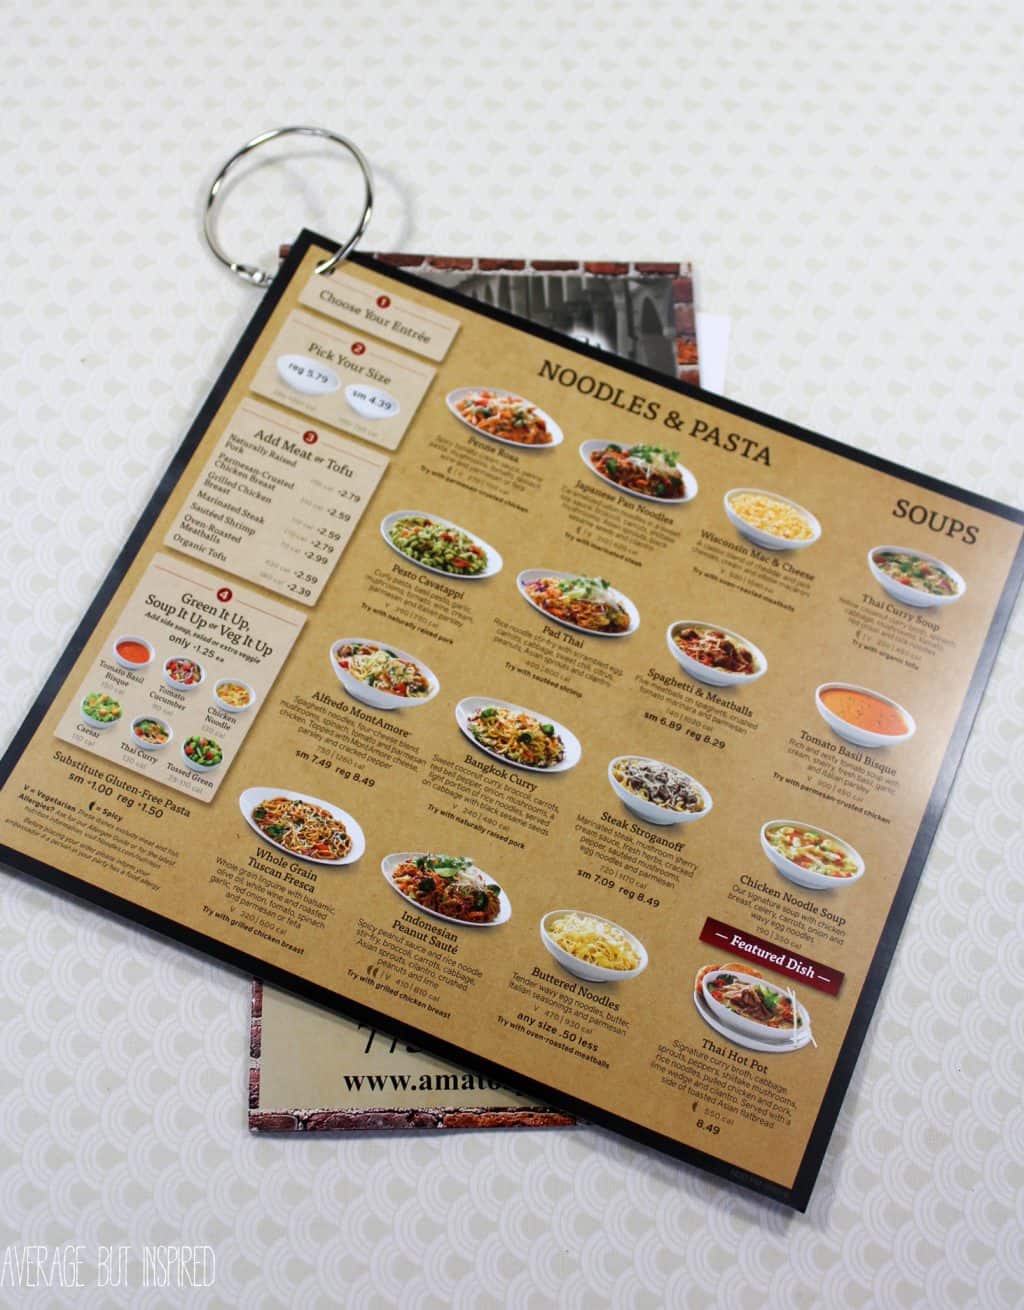
Putting menus onto a binder ring will keep your junk drawer organized and make your pizza delivery order stress-free since you’l never be missing your menus again!
Organize Scarves with Binder Rings
Clip binder rings through a hanger and then weave your scarves through them for an instant scarf organizer!
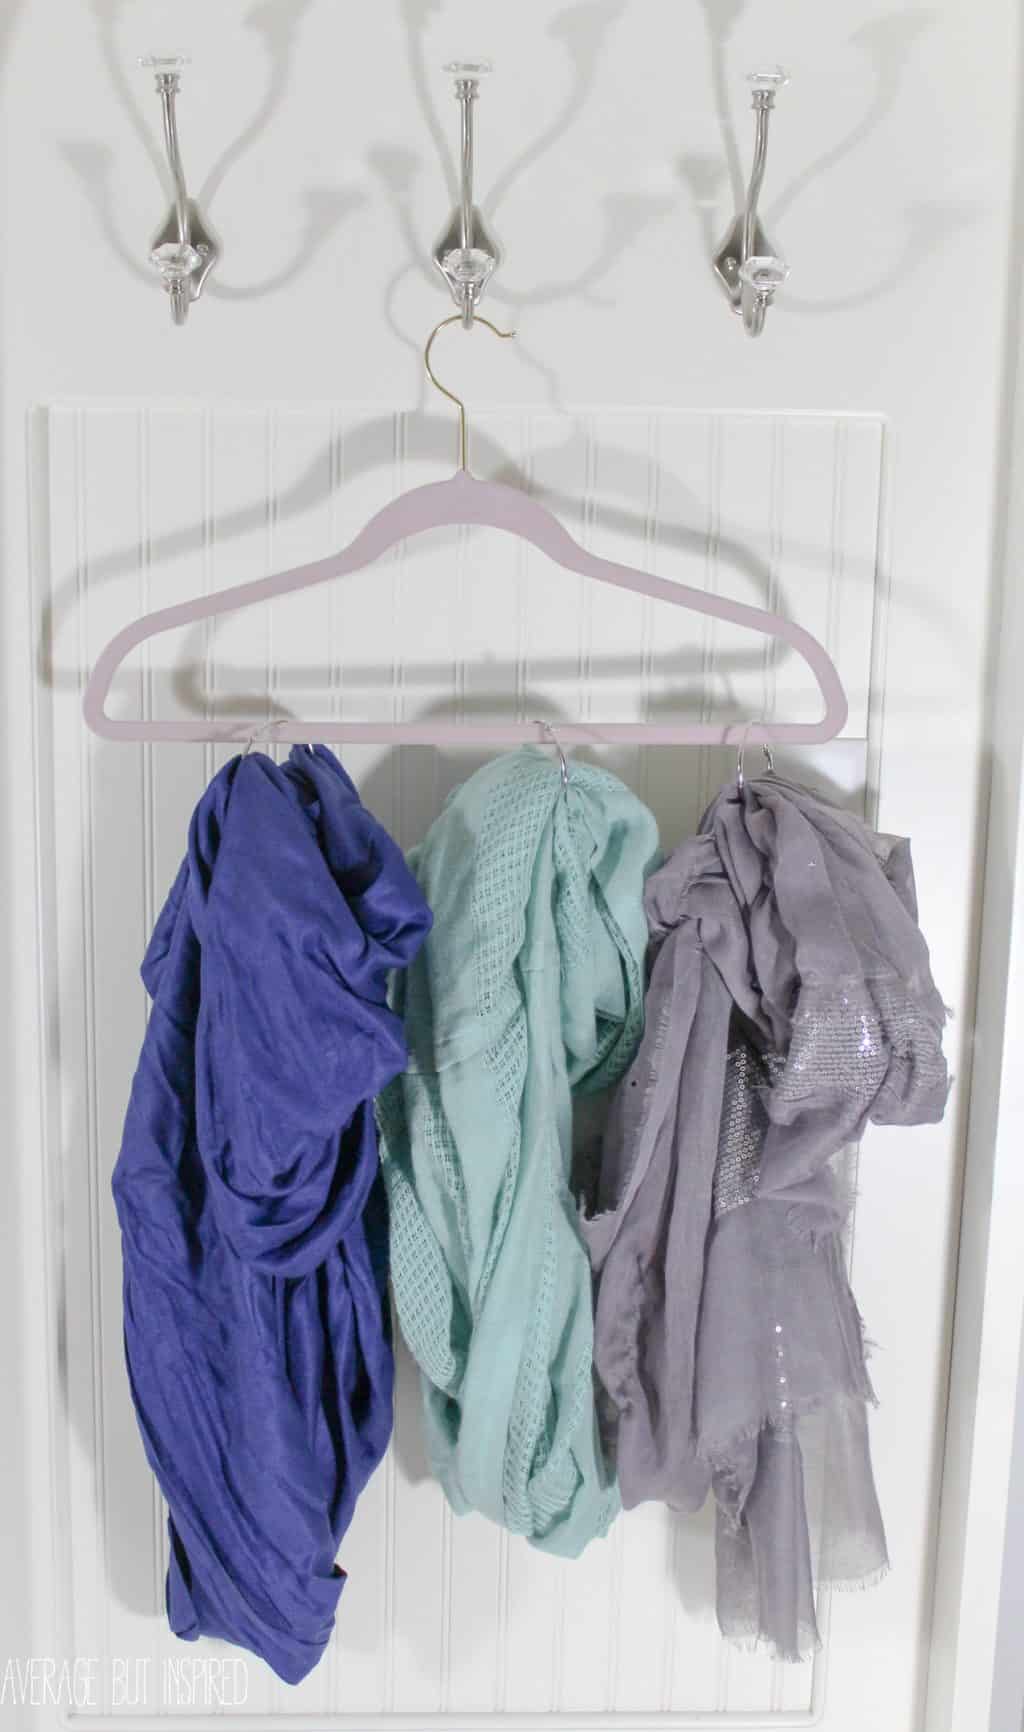
You’ll be able to see your scarf collection clearly and avoid having them fall all over the floor!
I’m sure there are tons of other ways to use binder rings to get organized – let me know if you have any ideas to add to this list!