DIY Sea Glass Bottles are a beautiful addition to coastal decor!
Before we know it, summer will be here! I, for one, cannot wait for warmer weather and lots of sunshine! The coming change of season also has me thinking of summer-inspired decor, like accents with a coastal touch.
One of my favorite coastal looks is sea glass. But because I live nowhere near an ocean (and would likely only find garbage in the rivers and lakes nearby), there’s no naturally-made sea glass available for me to find and use in my home. Womp womp.
Undeterred by my lack of sea glass sources, however, I decided to make my own sea glass bottles. You can use this sea glass paint technique on any glass surface!

This post contains affiliate links. Learn more by reading my disclosure policy.
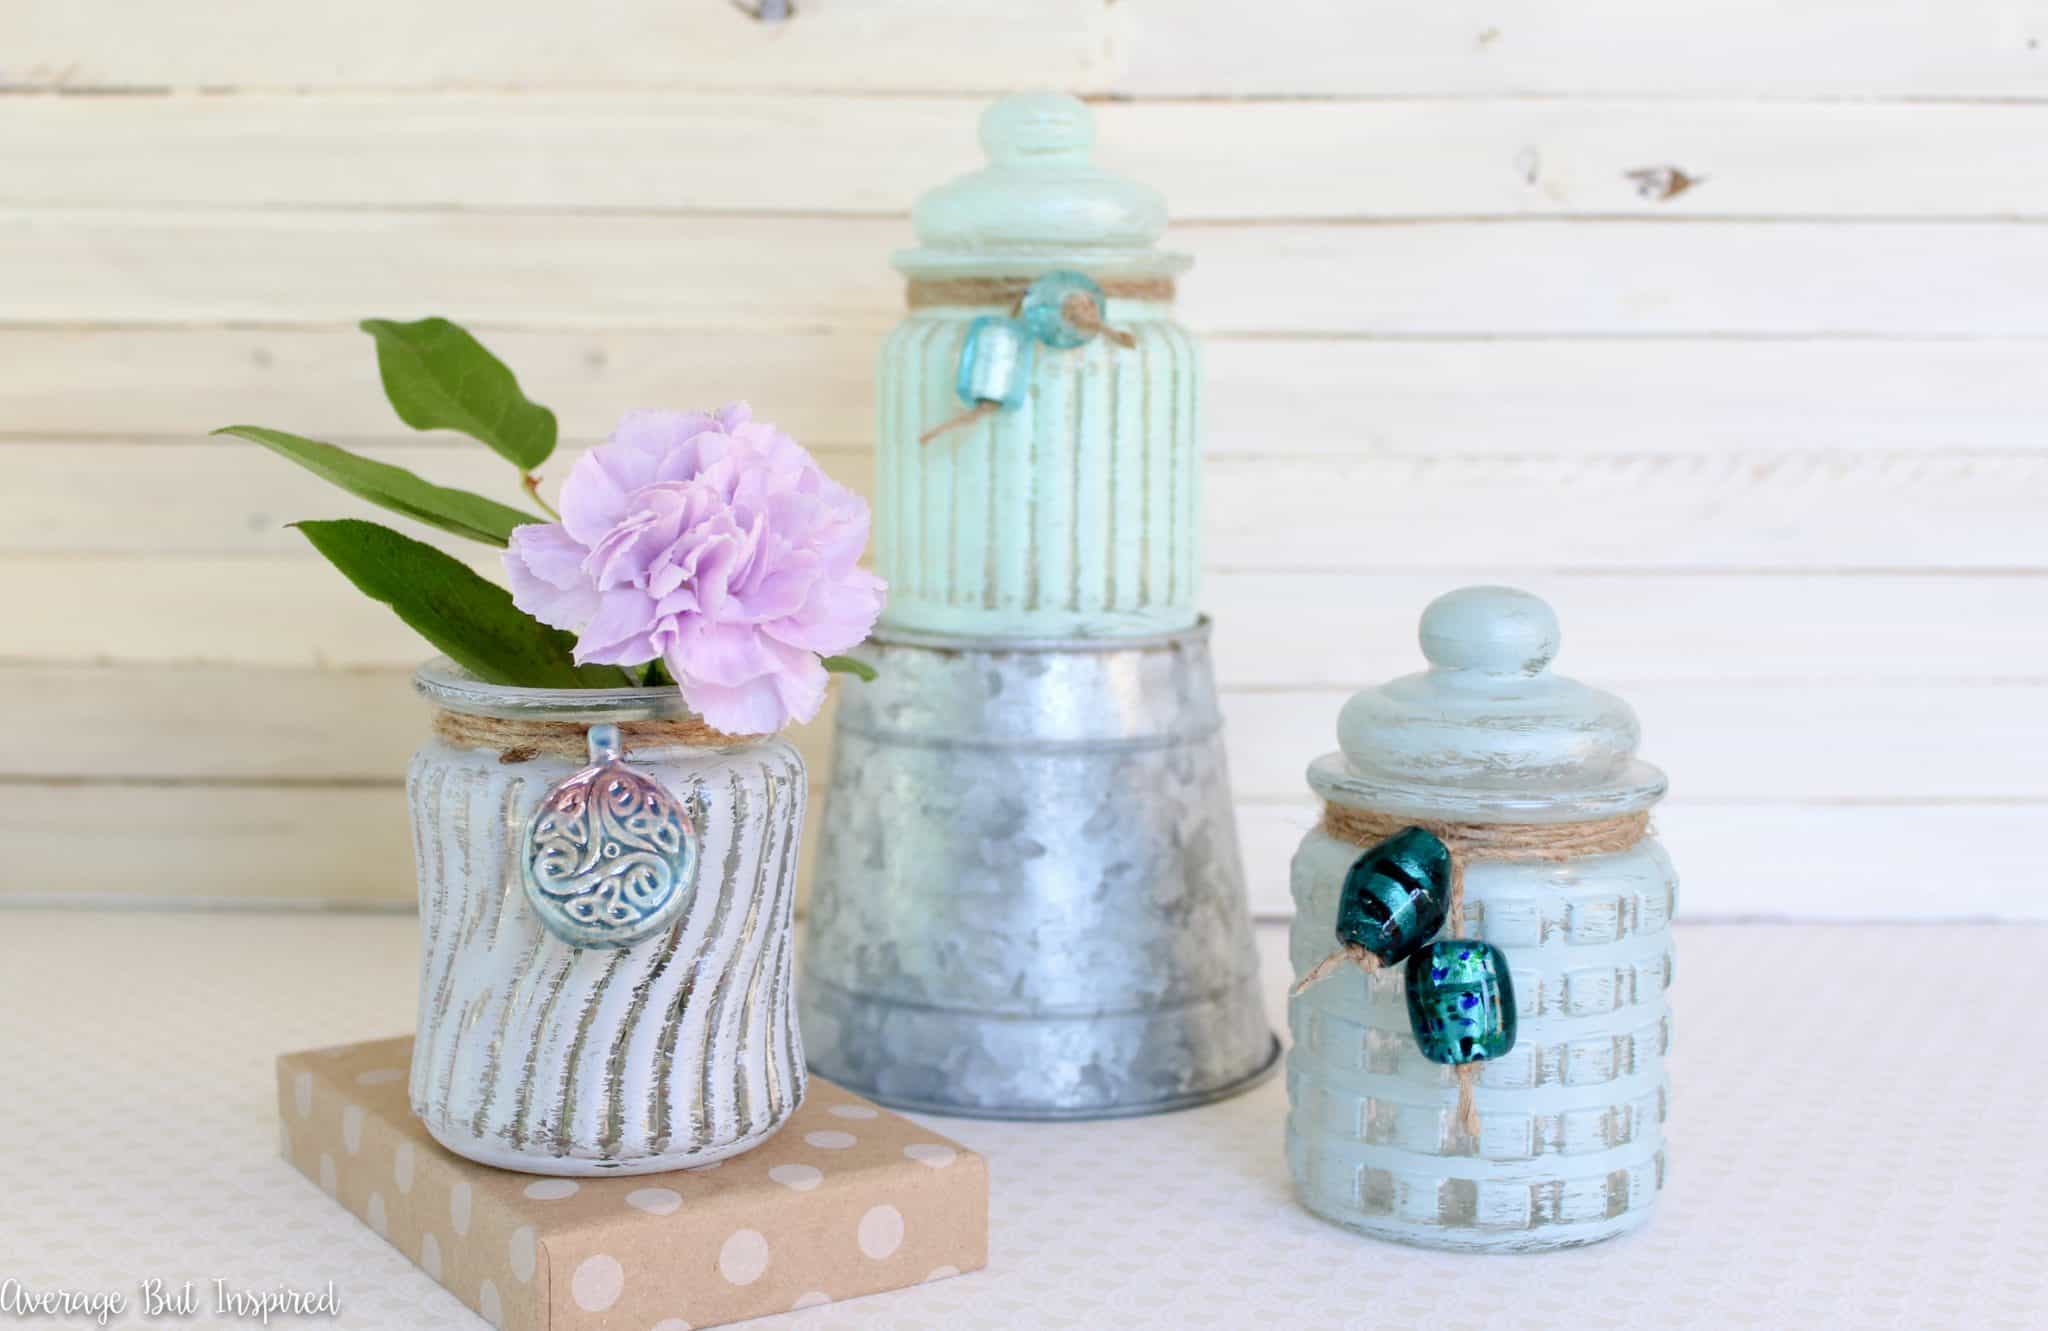
It’s obviously not the real thing, but these cheap glass jars from Dollar Tree look pretty coastal to me since they got their sea glass makeover. They’ll do!
DIY Sea Glass Bottles Supplies
These are the supplies I used to create a faux sea glass finish.
- Dollar Tree glass candy jars with lids
- Multi-surface acrylic paint (paint colors like Soft Jade, Turquoise Waters, and Sky Blue are what I used)
- Finishing wax in a pearlescent finish (I used Country Chic Paint Pearl Wax. You could also use this white frost wax for a similar effect.)
- Twine
- Sea glass inspired beads
- Chip brush
- Lint-free cloth
How to Make DIY Sea Glass Bottles
First off, find some glass jars or glass objects that you want to try this on. I bought these glass jars at Dollar Tree.
I love the texture each of these jars has!

Wash the glass and dry thoroughly.
Then, paint the outside of the jars or other glass objects. I used a really thin coat of multi-surface acrylic paint, and left some of the glass underneath showing. You could definitely do a solid coat if you like that look better!
After the paint is totally dry, wipe on the Pearl Wax with a lint-free cloth. I let the wax dry for about 25 minutes and then buffed each of the jars.
The Pearl Wax gives the glass a gorgeous and subtle iridescence. I just LOVE it!
(Sidenote: check out how I used Pearl Wax on a child’s rocking chair makeover. It’s adorable!)
To make my jars look even more coastal, I tied twine around each of them and added some sea glass looking beads around the fronts.
Even my husband noticed these cute little jars (and he usually never notices my projects – unless they’re big ones).
Love Coastal Crafts? You Might Also Like These Projects!
Since the paint is on the outside of the jars, they can still be used to hold things like flowers or food.
I’ve painted jars before but always painted the insides, which made them not as useable as these. Bonus!
See how easy it is to get a sea glass look with paint? If you liked this project, please “Pin It” so you will remember to make your own sea glass bottles later on!
Well, that’s it for now. “Sea” ya later! (Ha! Hilarious, right?)